How to remove unwanted sounds from a song with Adobe Audition
2019-03-01Table of Content
Huh, what?
The events depicted in the following conversation log are not fictitious. Any similarity to any person living or dead is probably not coincidental.
2015-01-18 12:43, Me:
	f***. I just downloaded the Kosheen song "Get A New One",
	and it has facebook notification sounds in it.
	I want to kill the f***er who ripped it wrong
2015-01-18 12:43, Me:
	I had to listen to it 3 times before I understood it was not real
2015-01-18 12:43, Friend:
	Hahahaha
2015-01-18 12:43, Friend:
	Hahahahahahaha
2015-01-18 01:01, Me:
	WTH! I downloaded a FLAC version, and the sound is still there!!
2015-01-18 01:28 - Me:
	aaaaah!!! I bought it, and the notification sound is STILL THERE.
	IT'S DRIVING ME NUTSSS!!!!!
2015-01-18 01:40, Me:
	the spotify version also has the sound
2015-01-18 04:08, Me:
	oh well. looks like I just spent 2h cracking adobe audition
	and substracting samples to make my own fixed version
	that does not steal me some life expectancy...
Well, it worked pretty well, and I quickly forgot about it...
Until now, when I tried to do it again but couldn't find how I did it for much longer than I'd like to admit. So here is a memo for the next time I need to do something similar...
The fast way
Adobe Audition is a pretty powerful tool, and it has a built-in sound remover that works pretty well. Beside having to know where to find it, there is one gotcha I'll talk about below...
Overall, the process is relatively simple:
Note: I had to go back to take some screenshots I missed when I did it the first time. Some details might seem out of place. Don't panic...
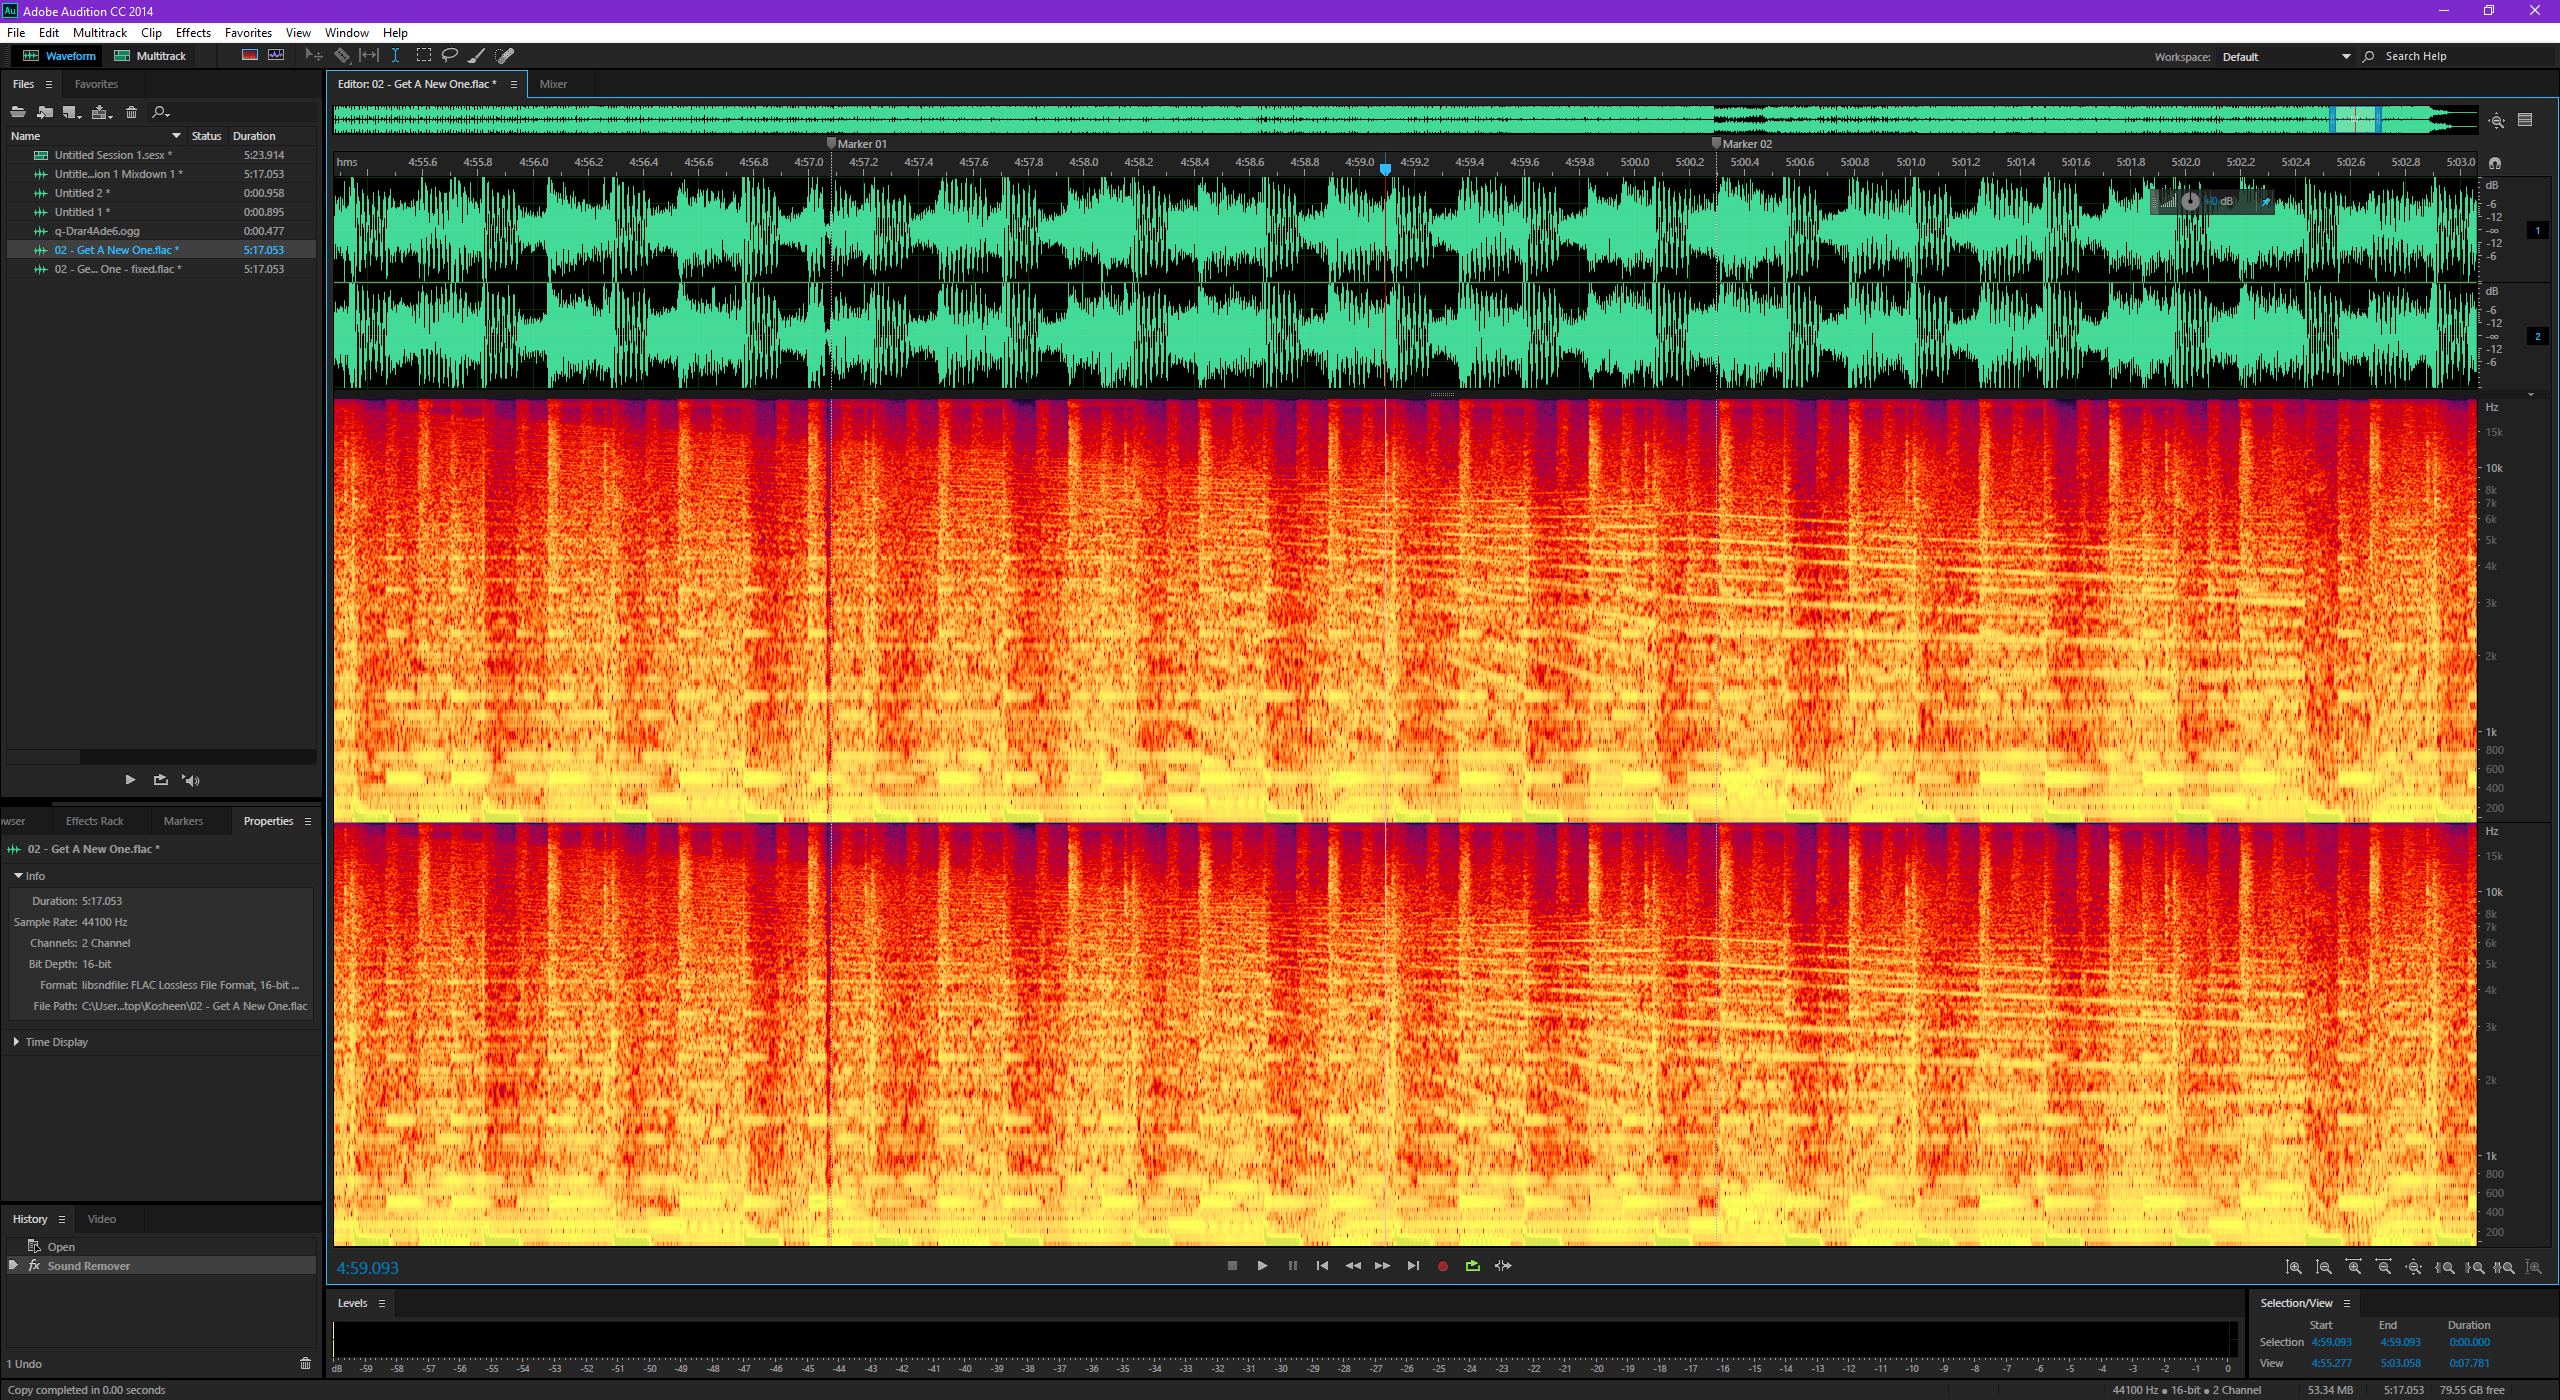
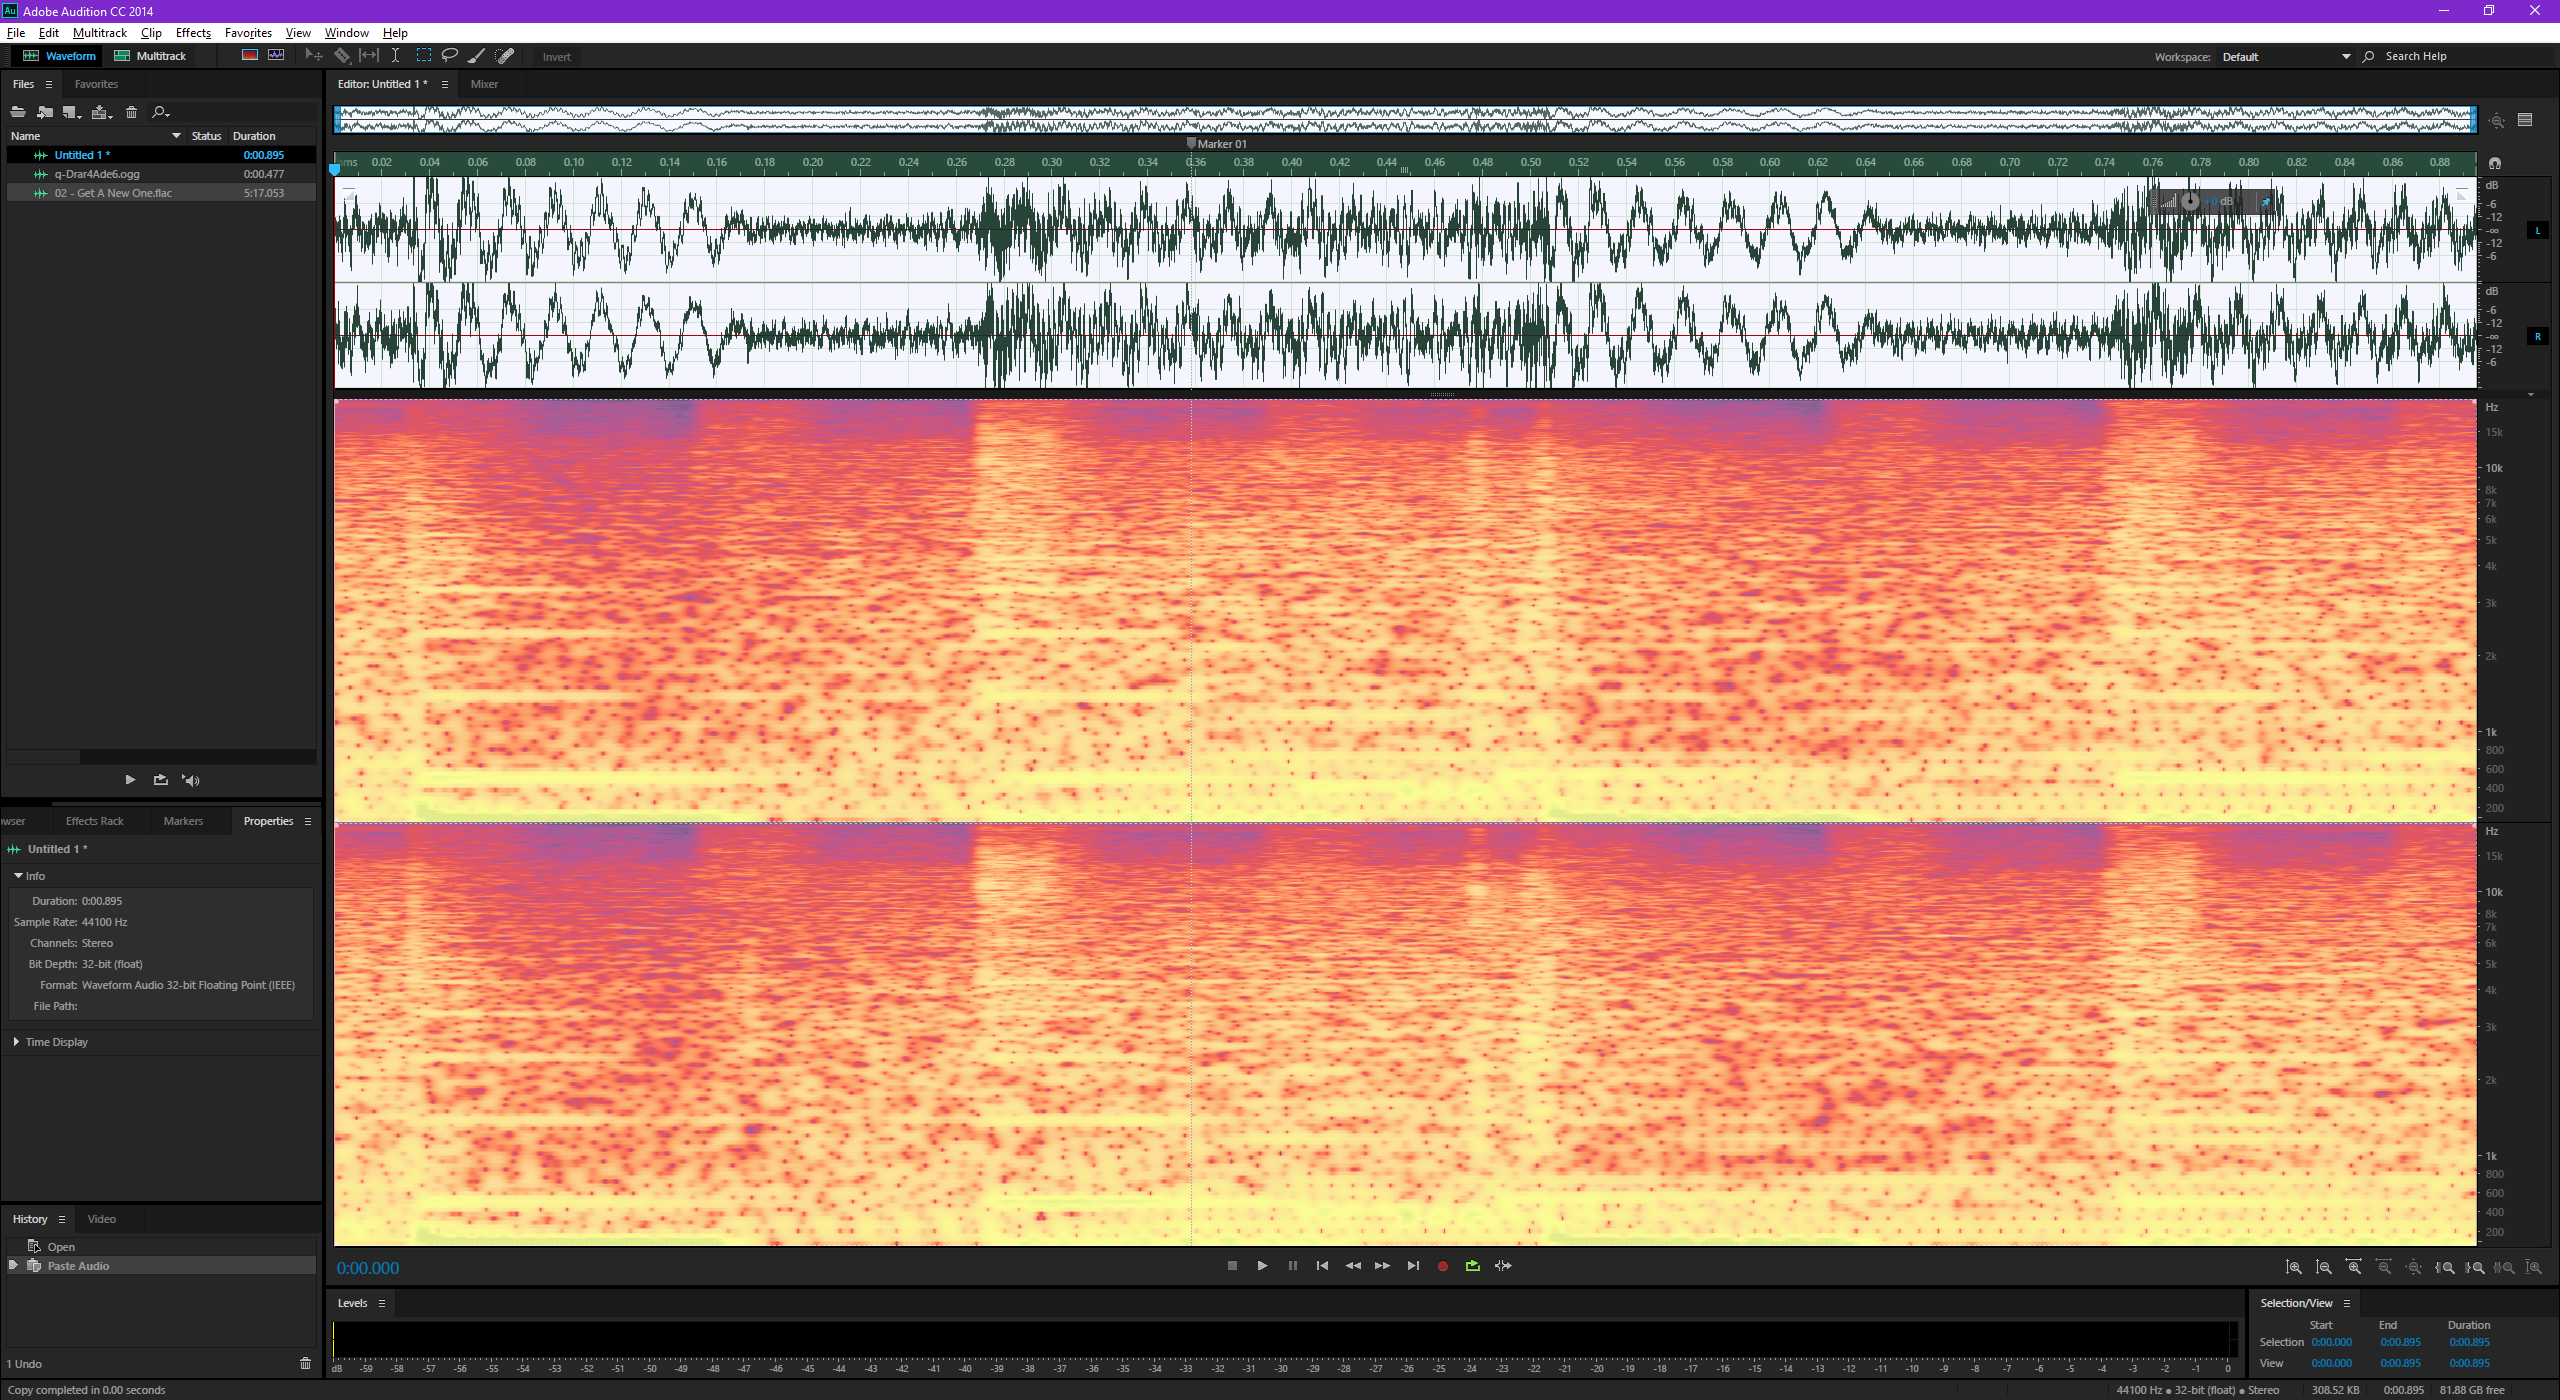
The first thing to do is find a clear recording (or the original) of the sound we want to remove.
In my case, it's the facebook notification sound, and I fortunately kept a copy of the version I downloaded back in 2015 🙂
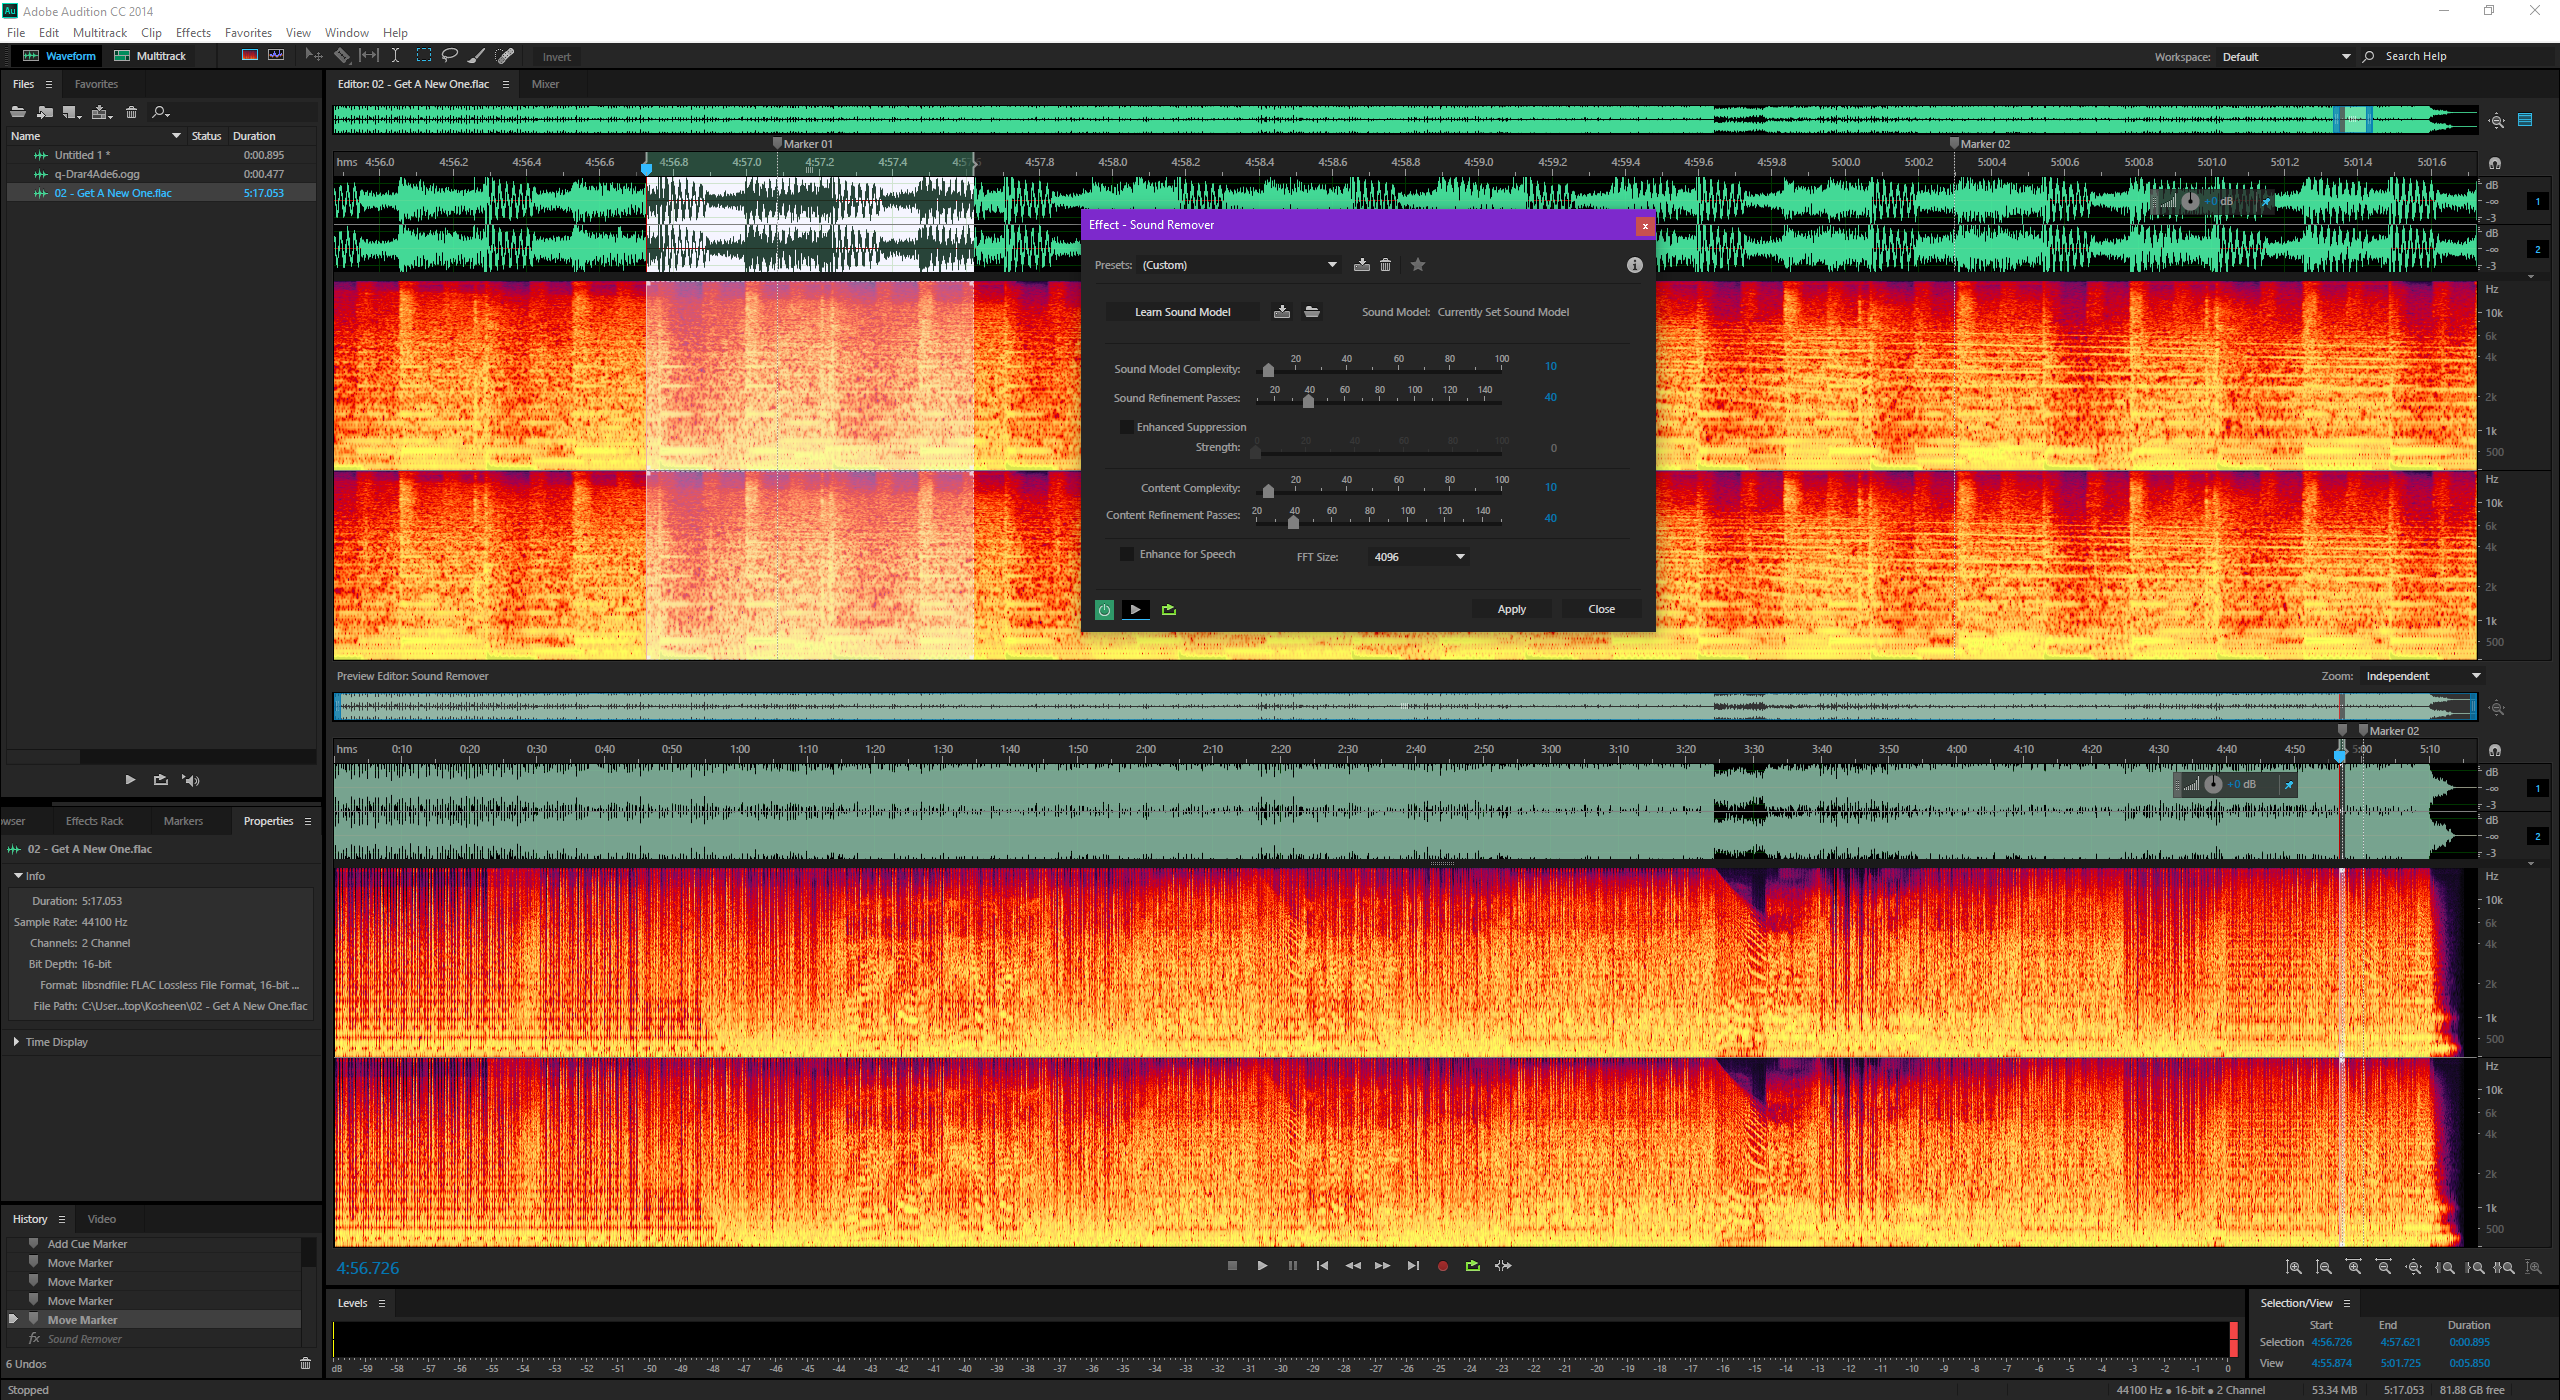
Then we can teach Audition to "learn the Sound Model":
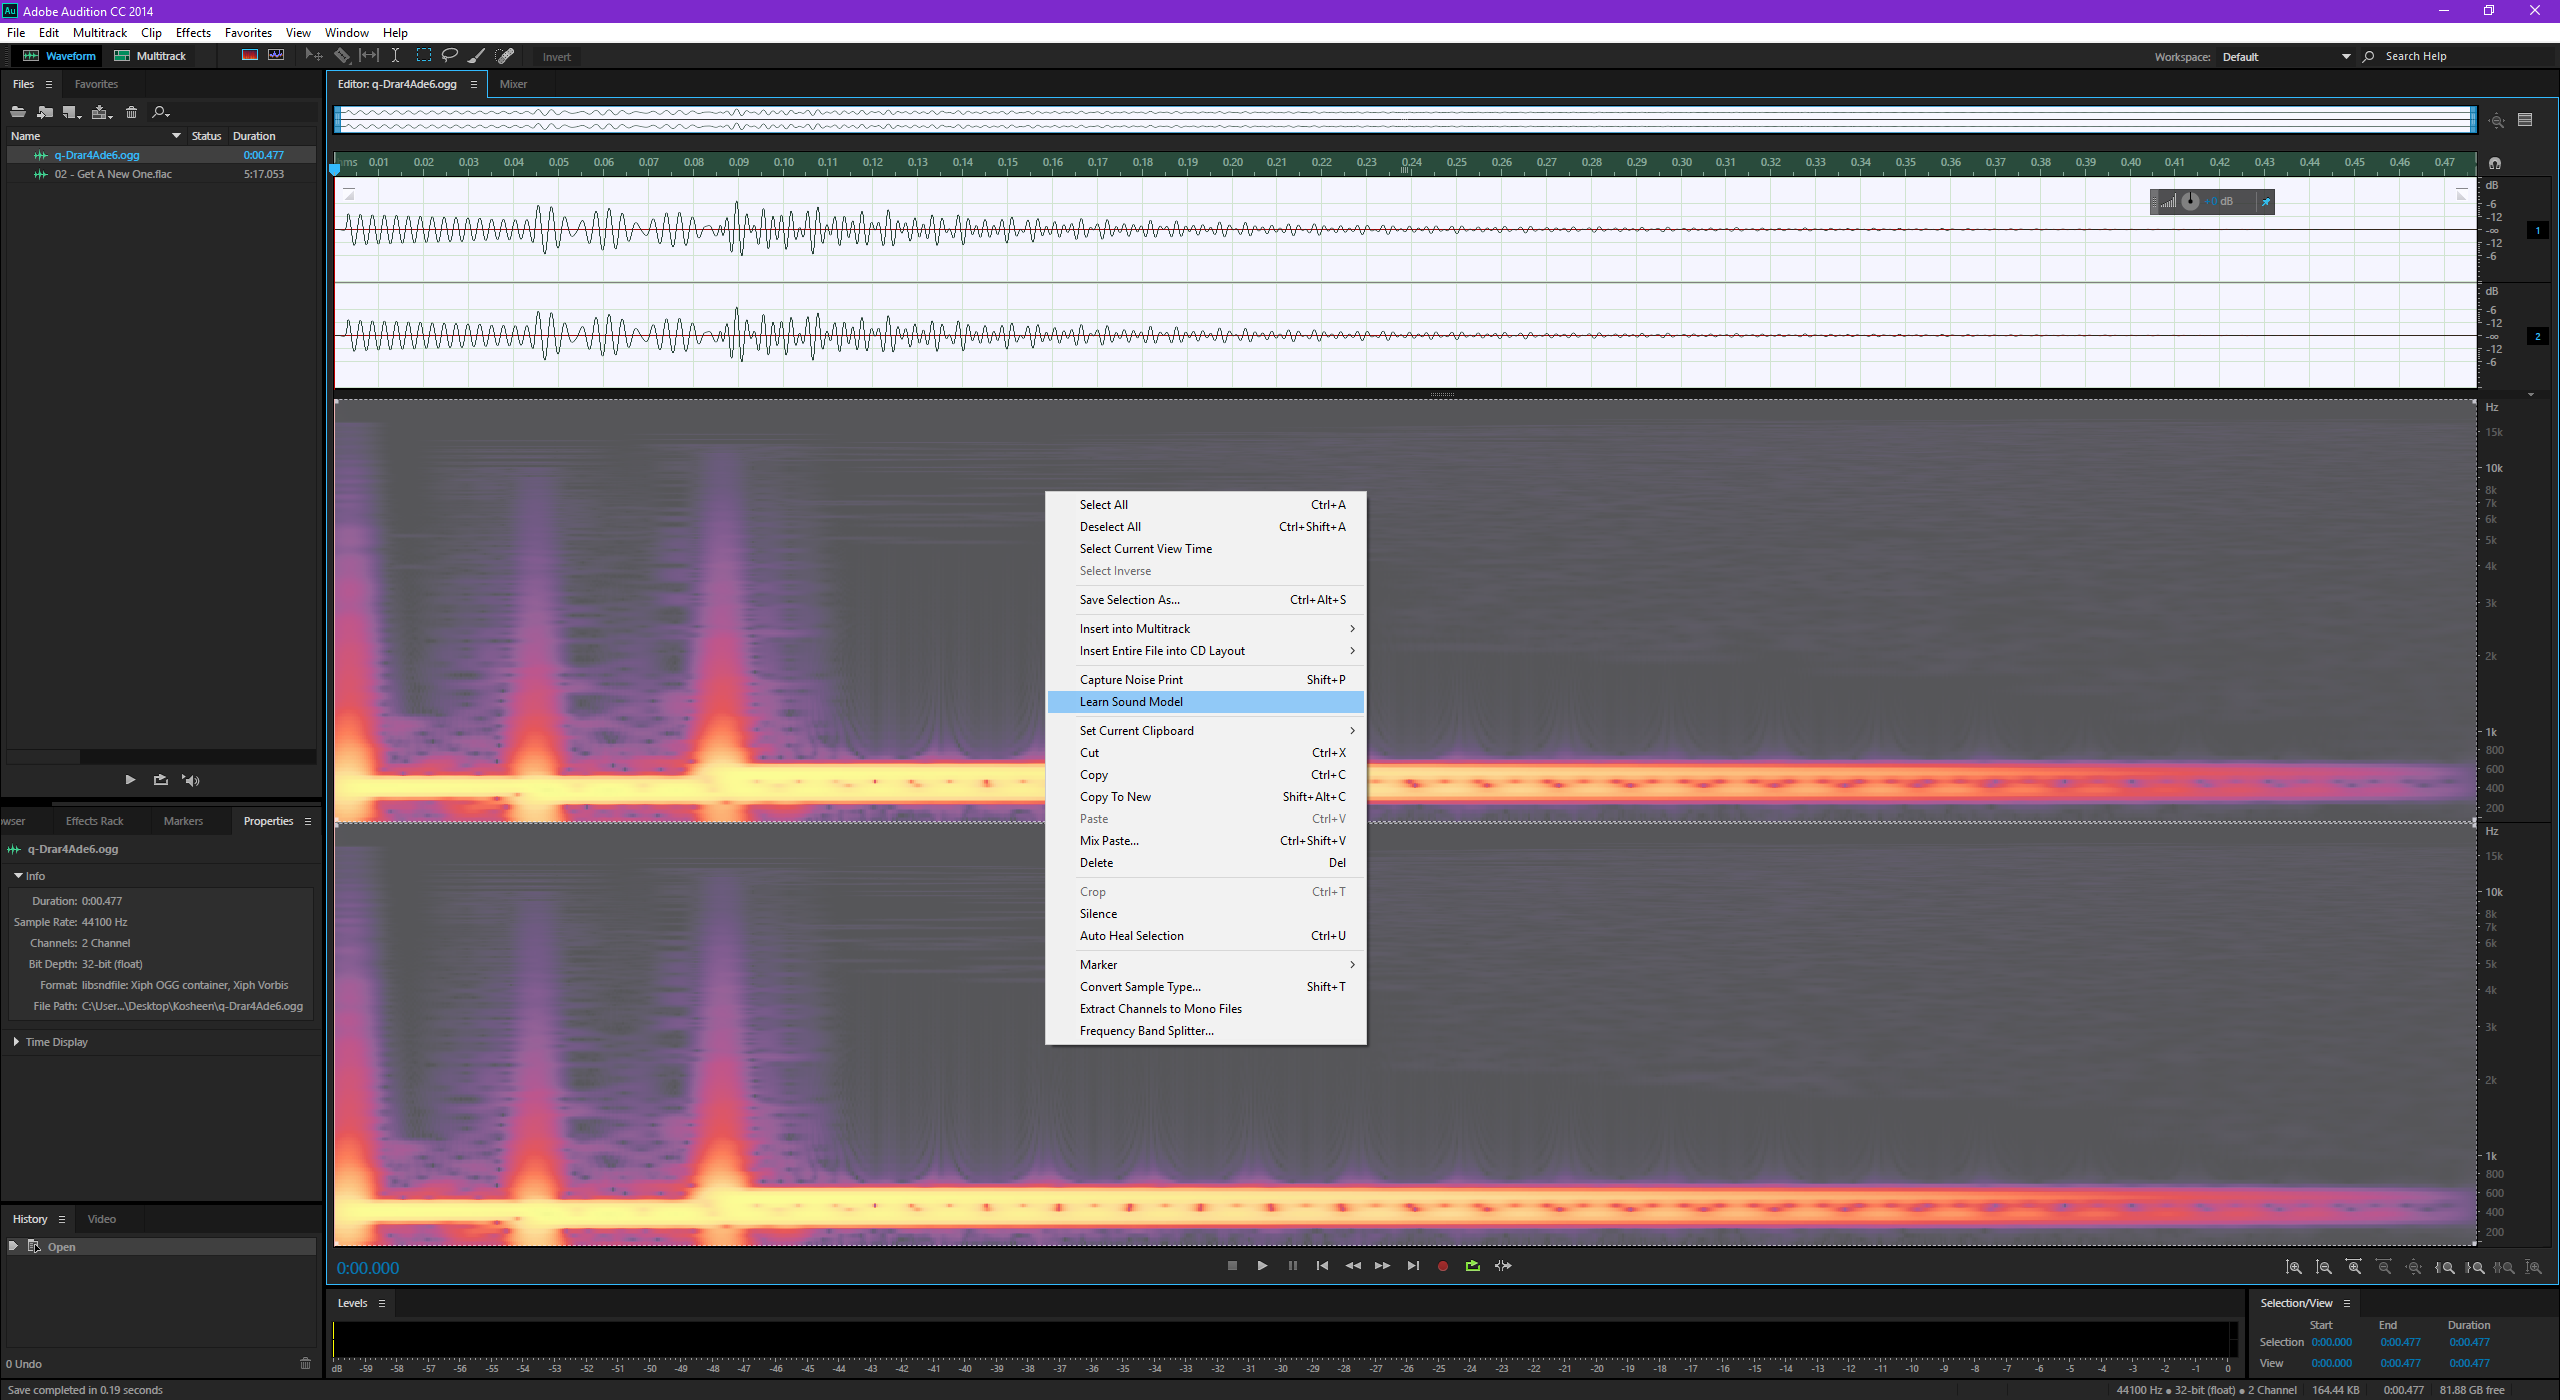


The defaults work fine in this case. And we are almost done!
Unfortunately—and this is the gotcha I mentioned earlier—using this process creates a visible and audible "rift" in the resulting spectrum, at the beginning of the edited selection:
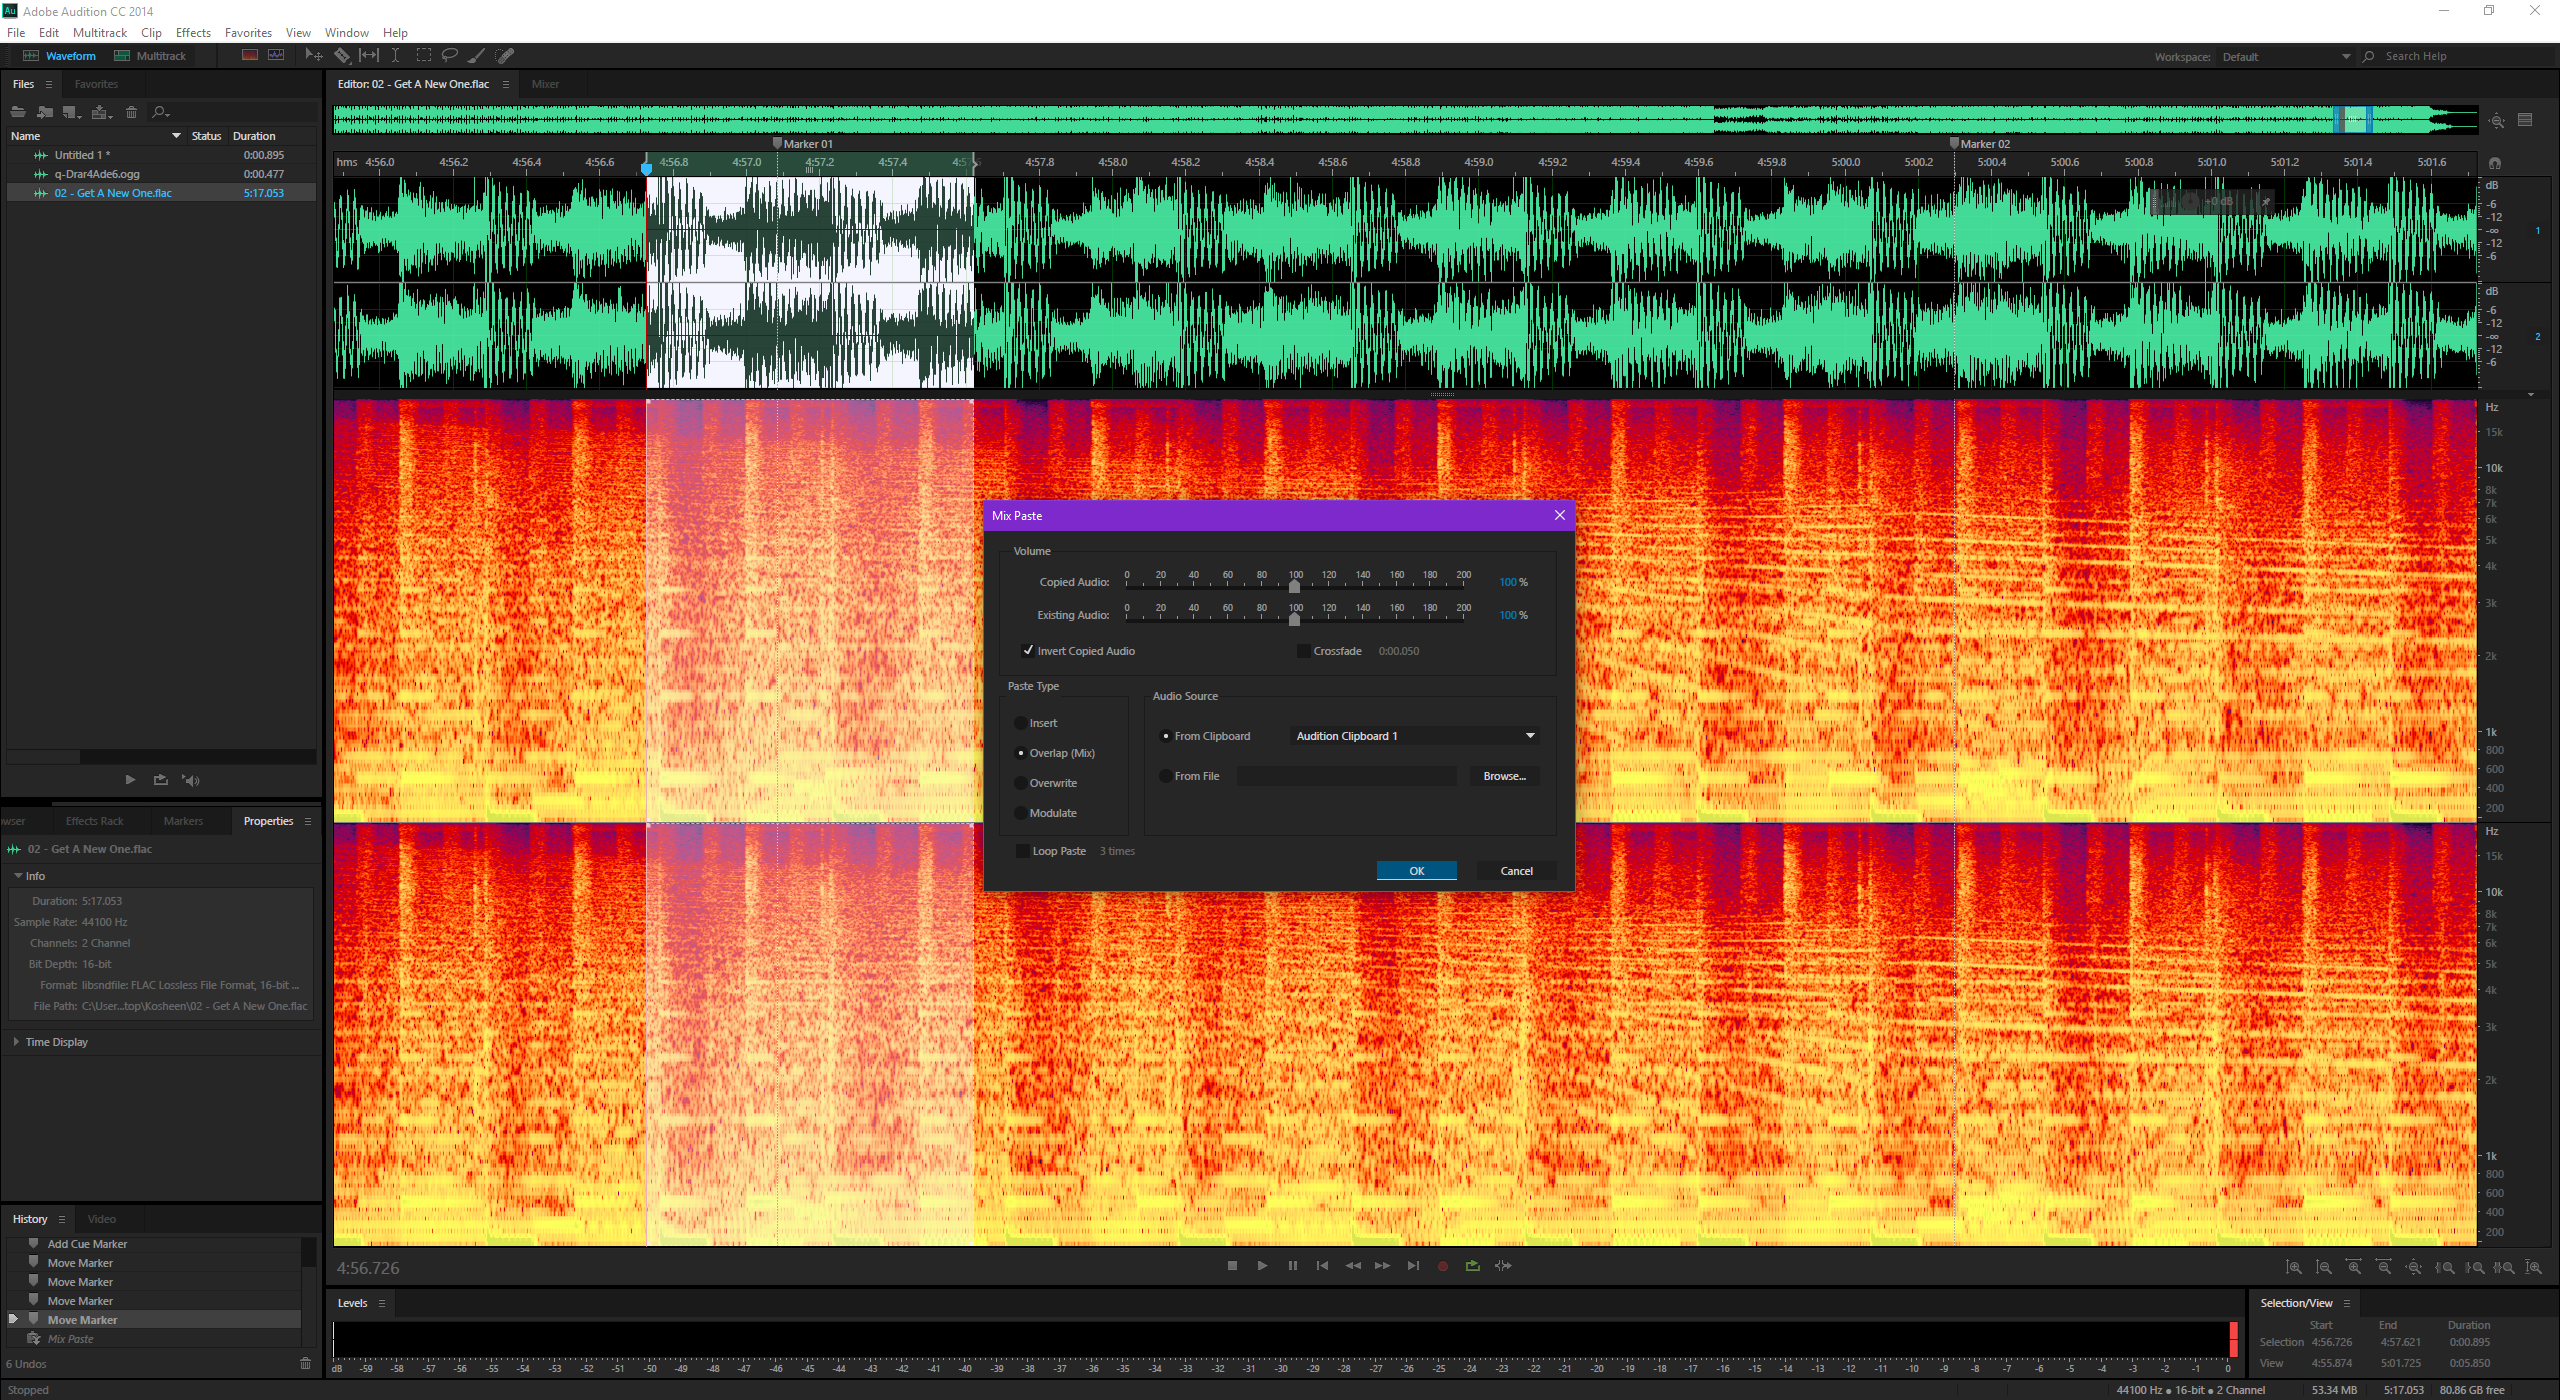
The only way I found to efficiently get rid of this artefact is to:
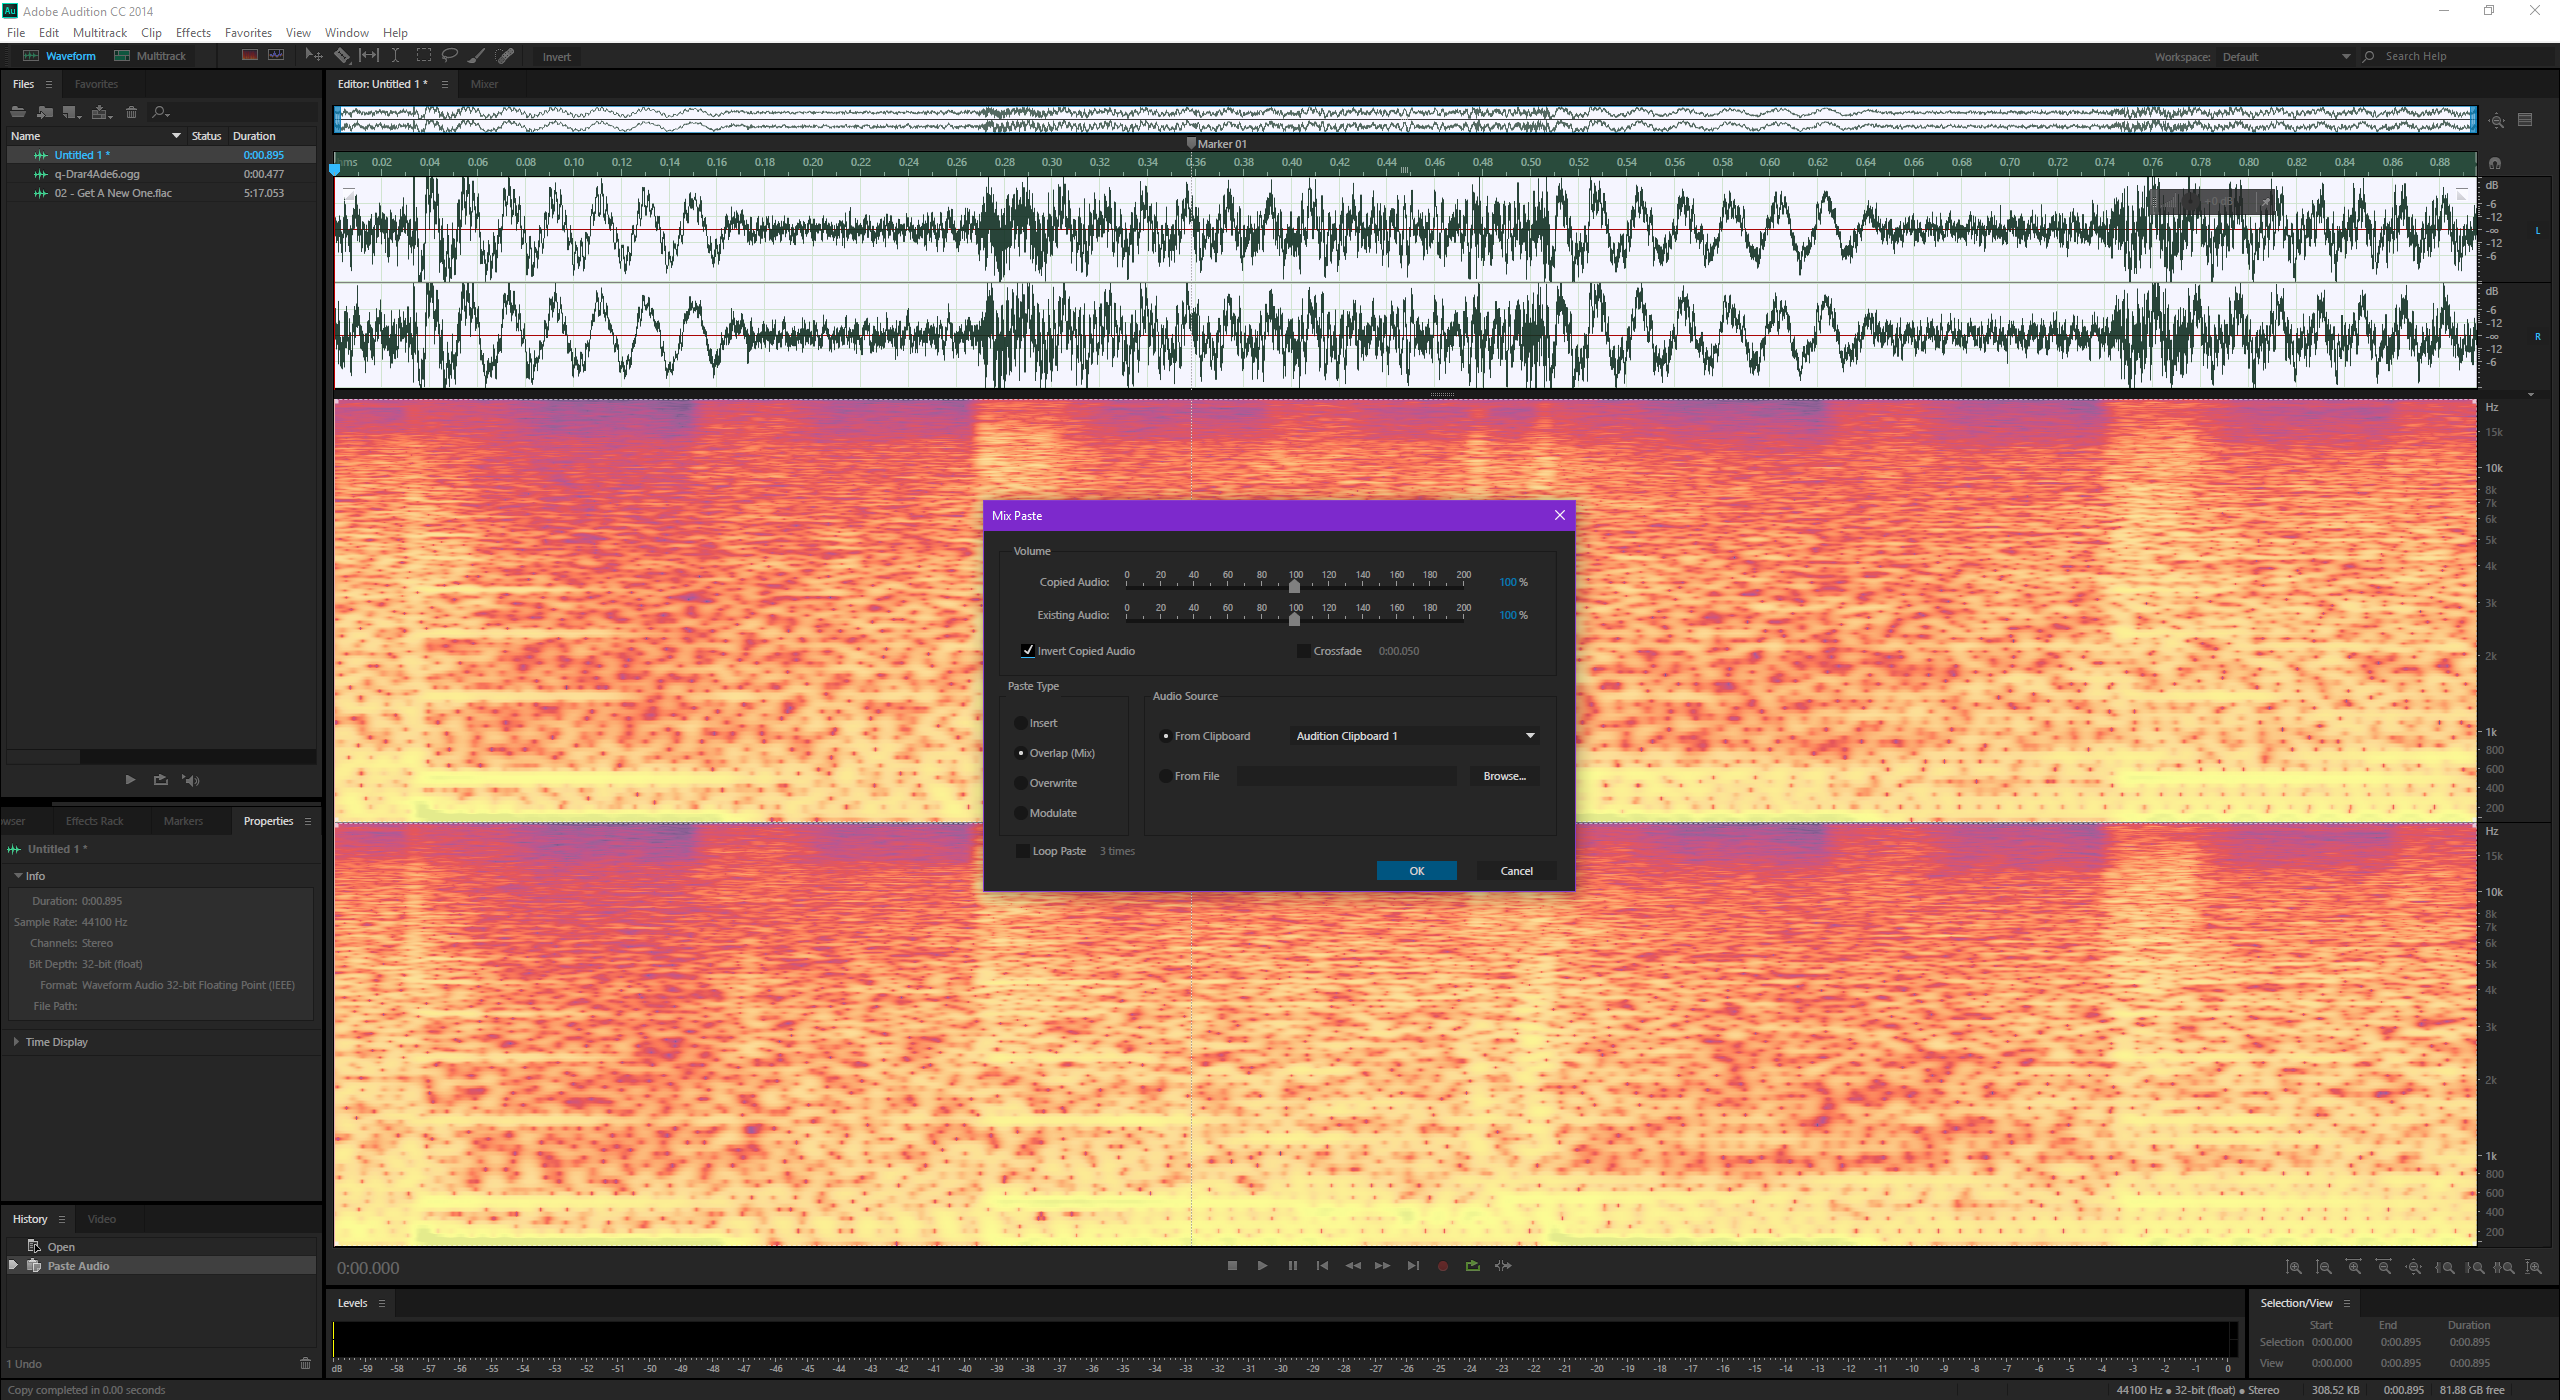
- copy the corrected selection (fig 6)
- then use the "Mix Paste..." feature, using the Overwrite mode with a Crossfade, so that the rift is in the crossfade (fig 7).


Result analysis
The result are audibly pretty good in this case. The facebook notification is totally removed, and we hardly notice a difference in the song!
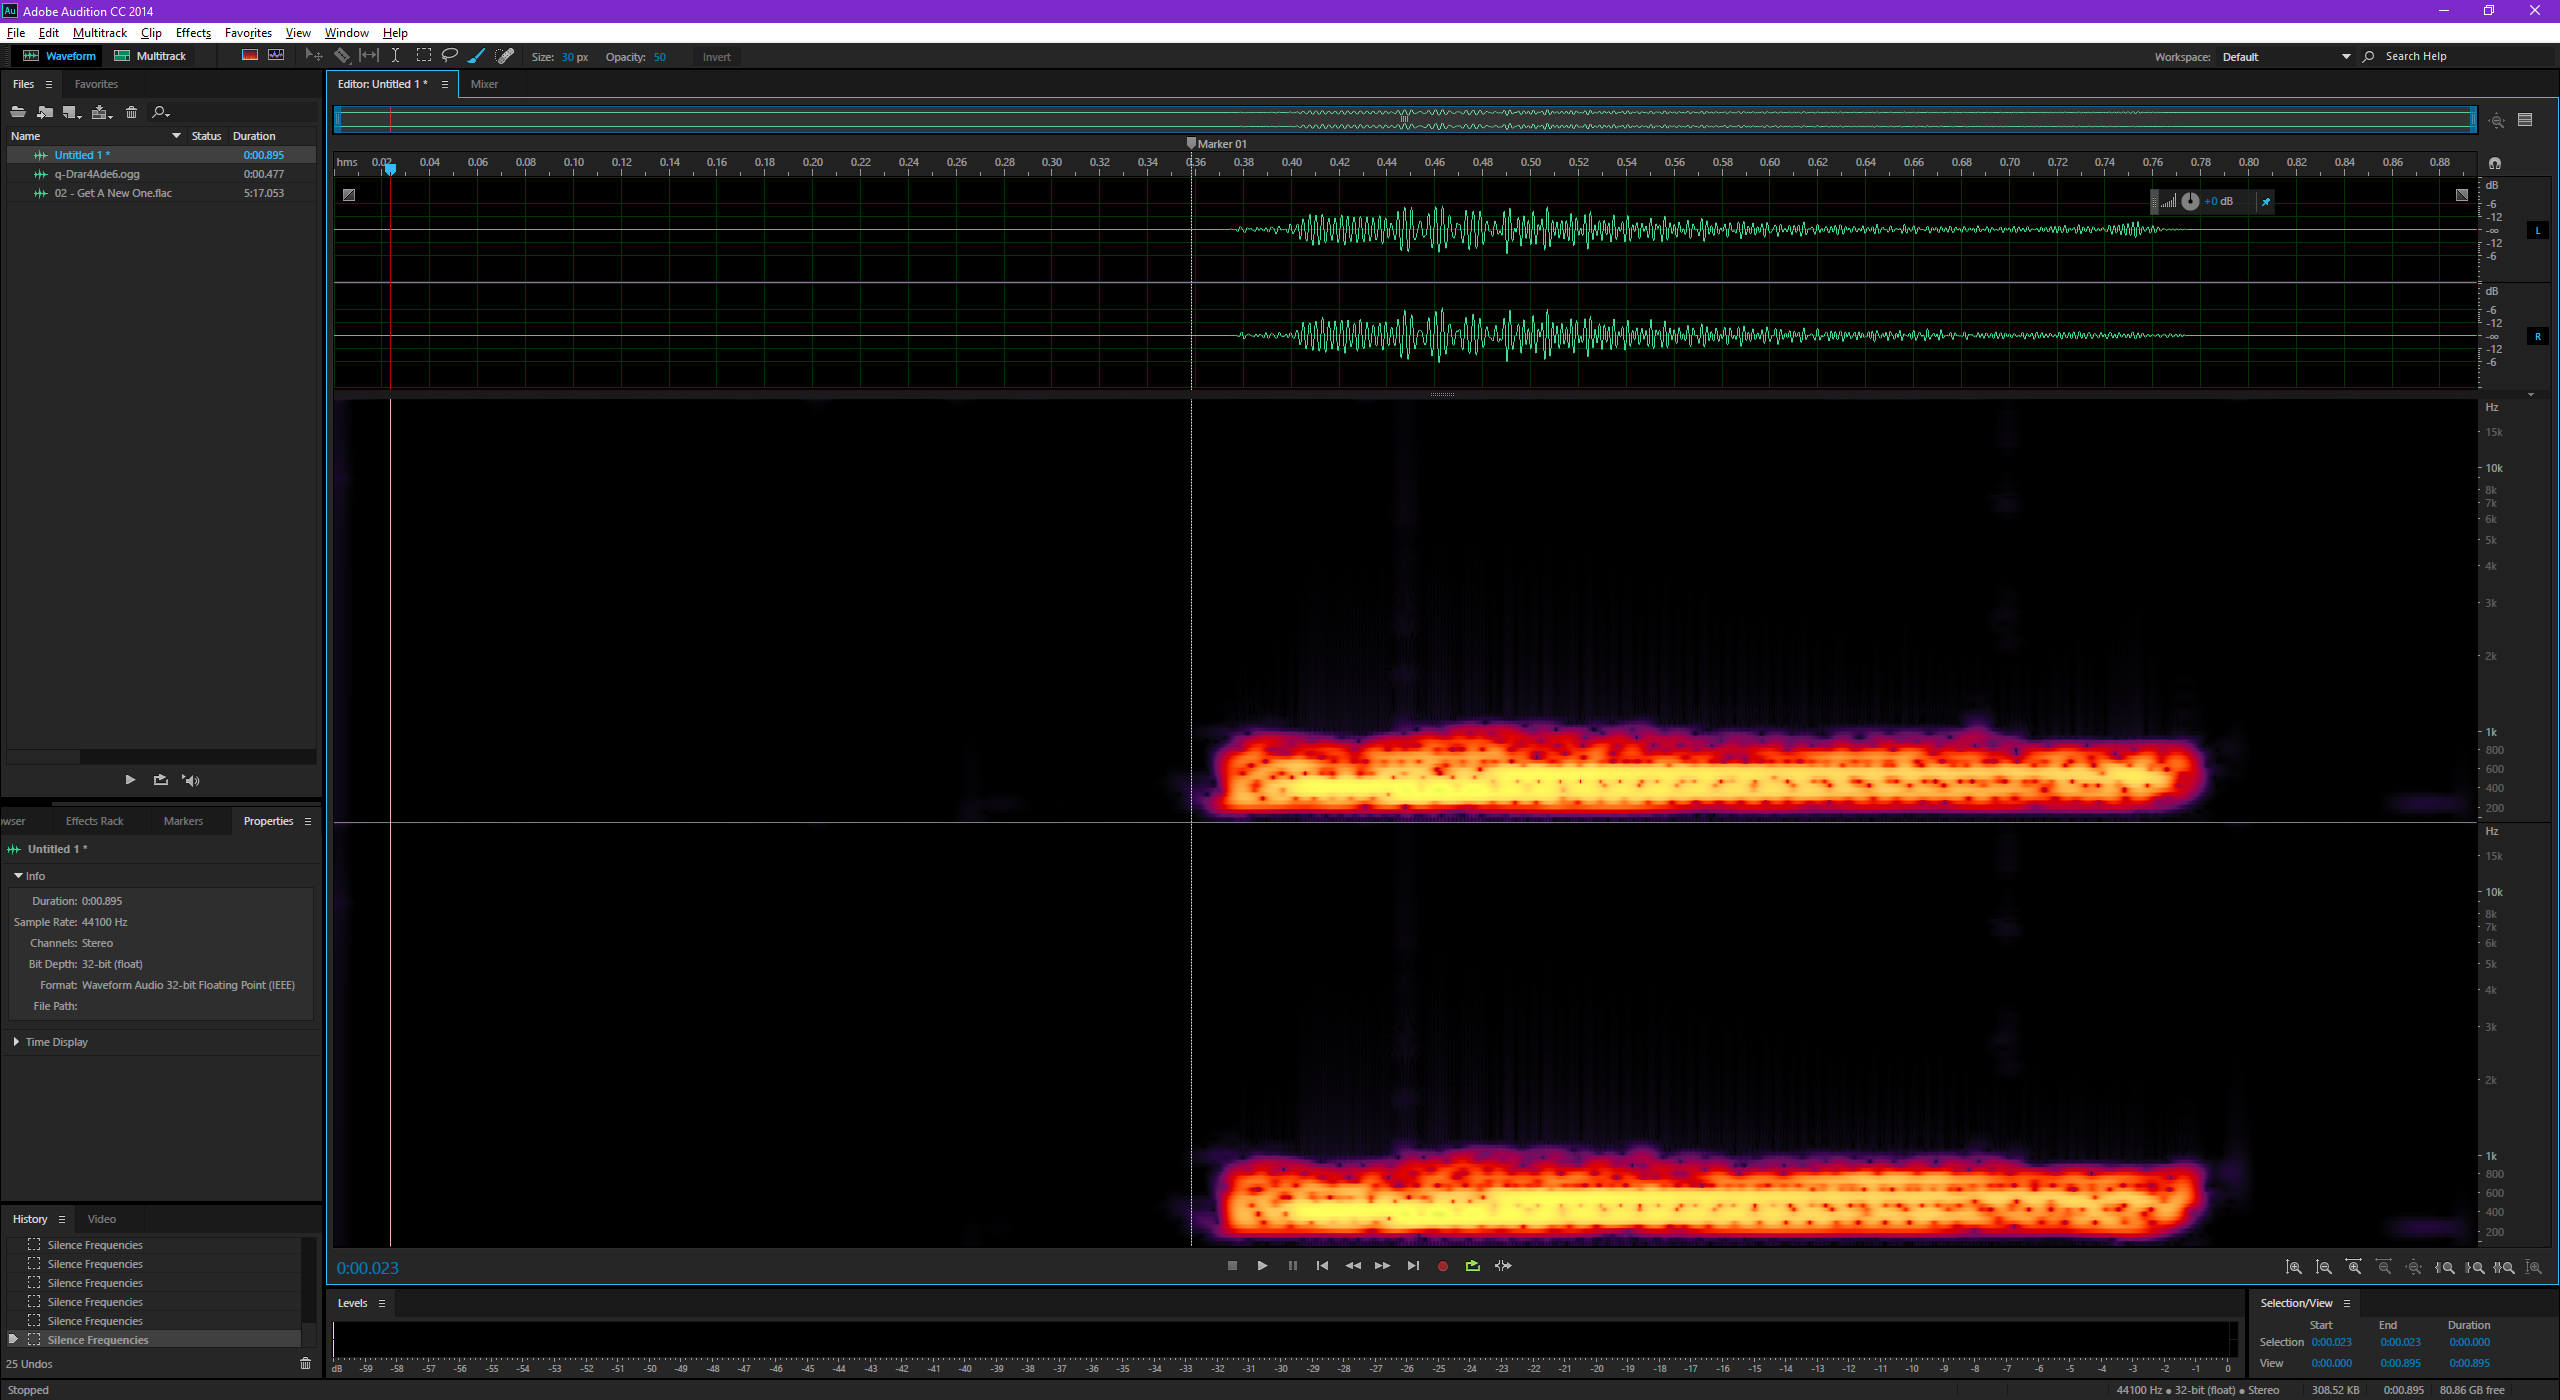
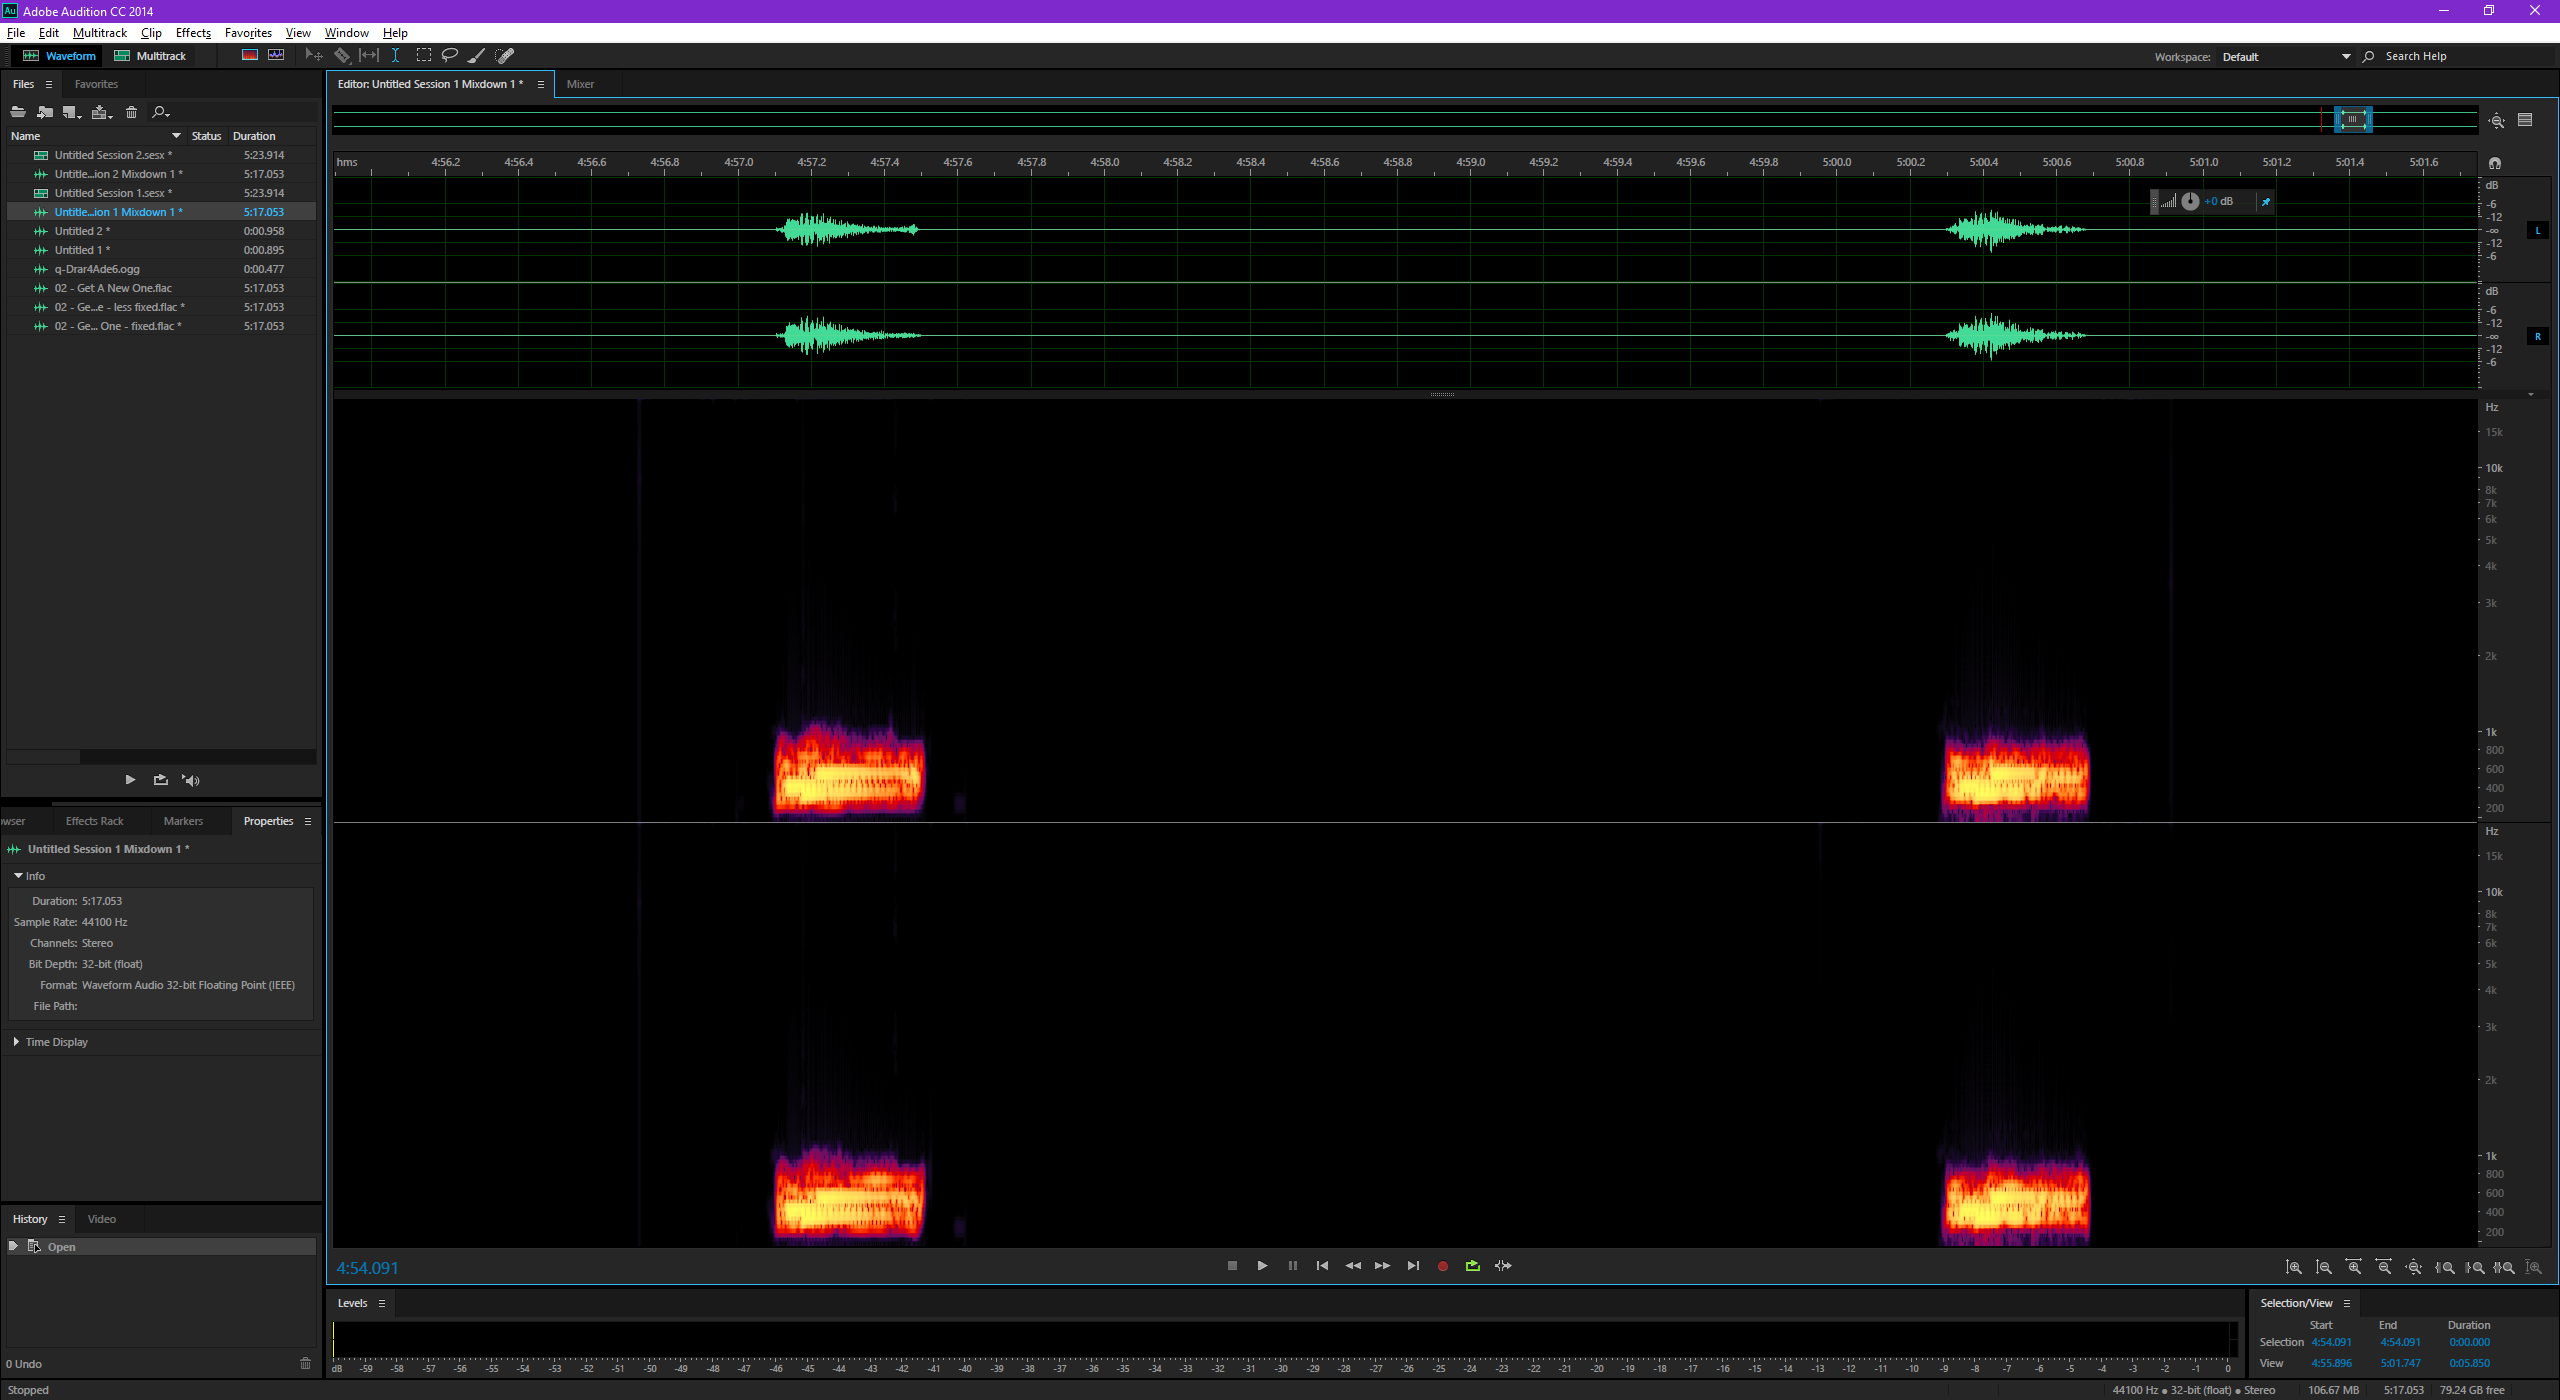
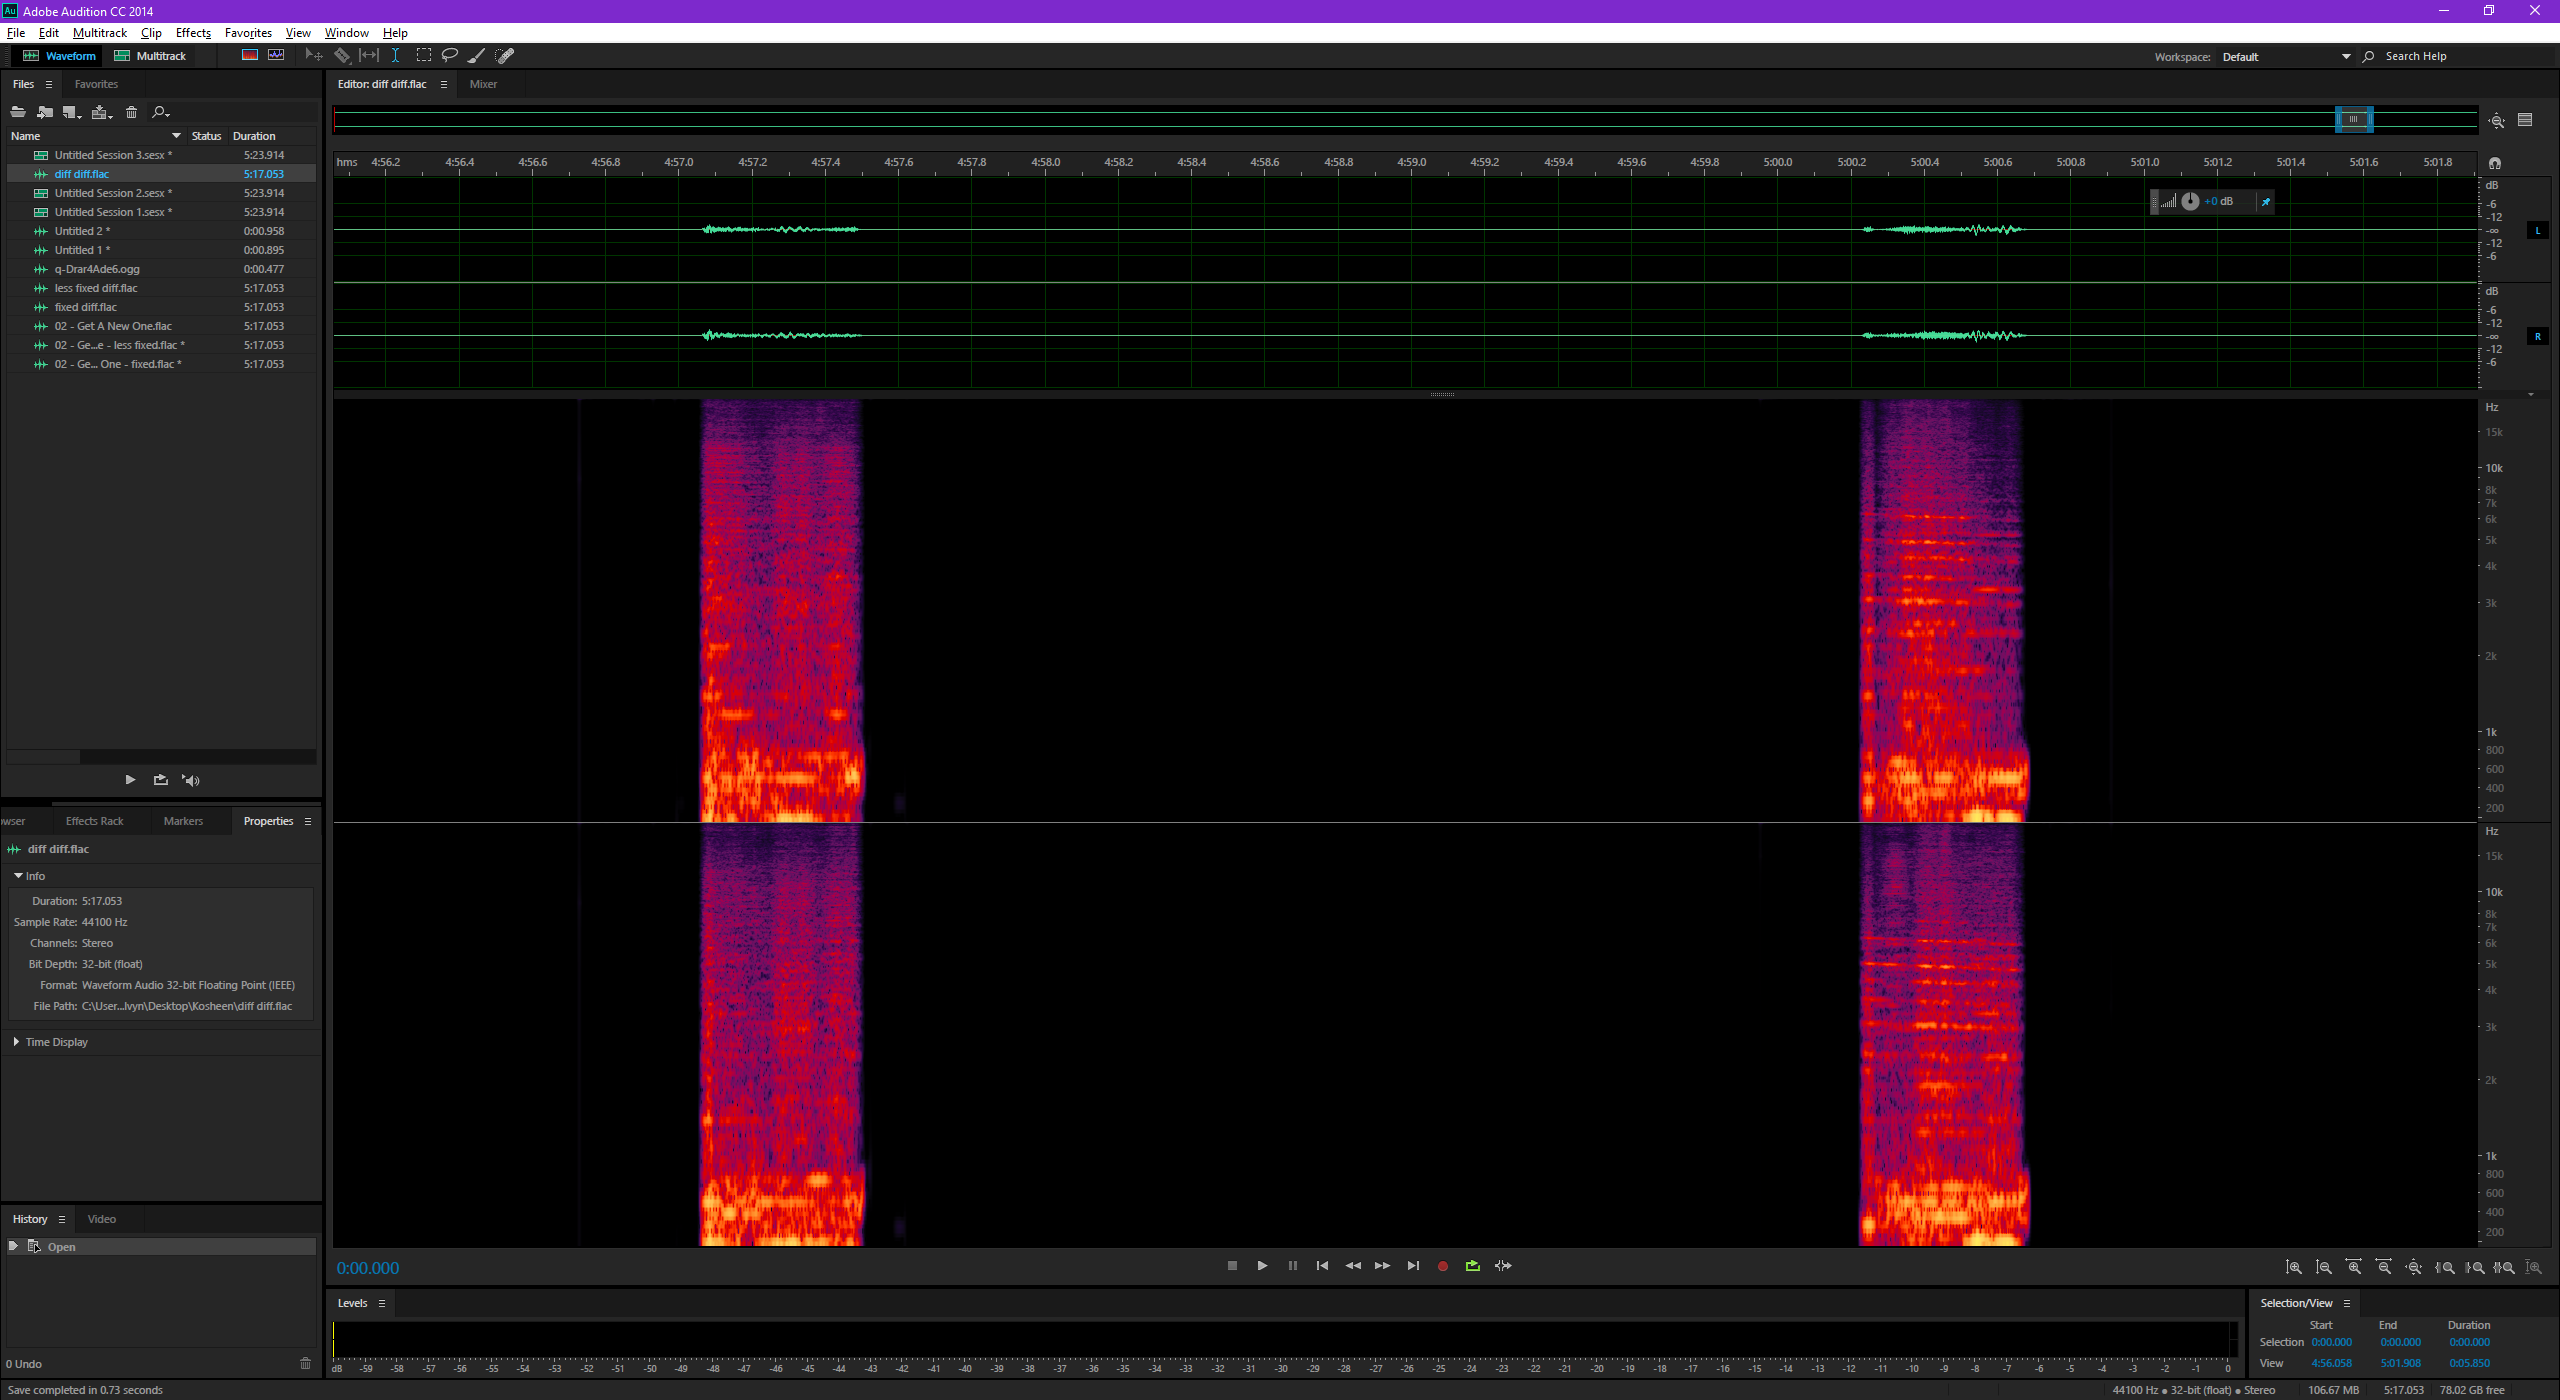
An interesting thing to do is create a diff of the correction:
We clearly see the two edited parts.
Note that Audition is not perfect, and seems to have removed far too much data.
Skip to around 4:57 and 5:00 to hear something:
Download the audible diff (FLAC)
The improved way™
Fortunately, it's not too difficult to to a better job.
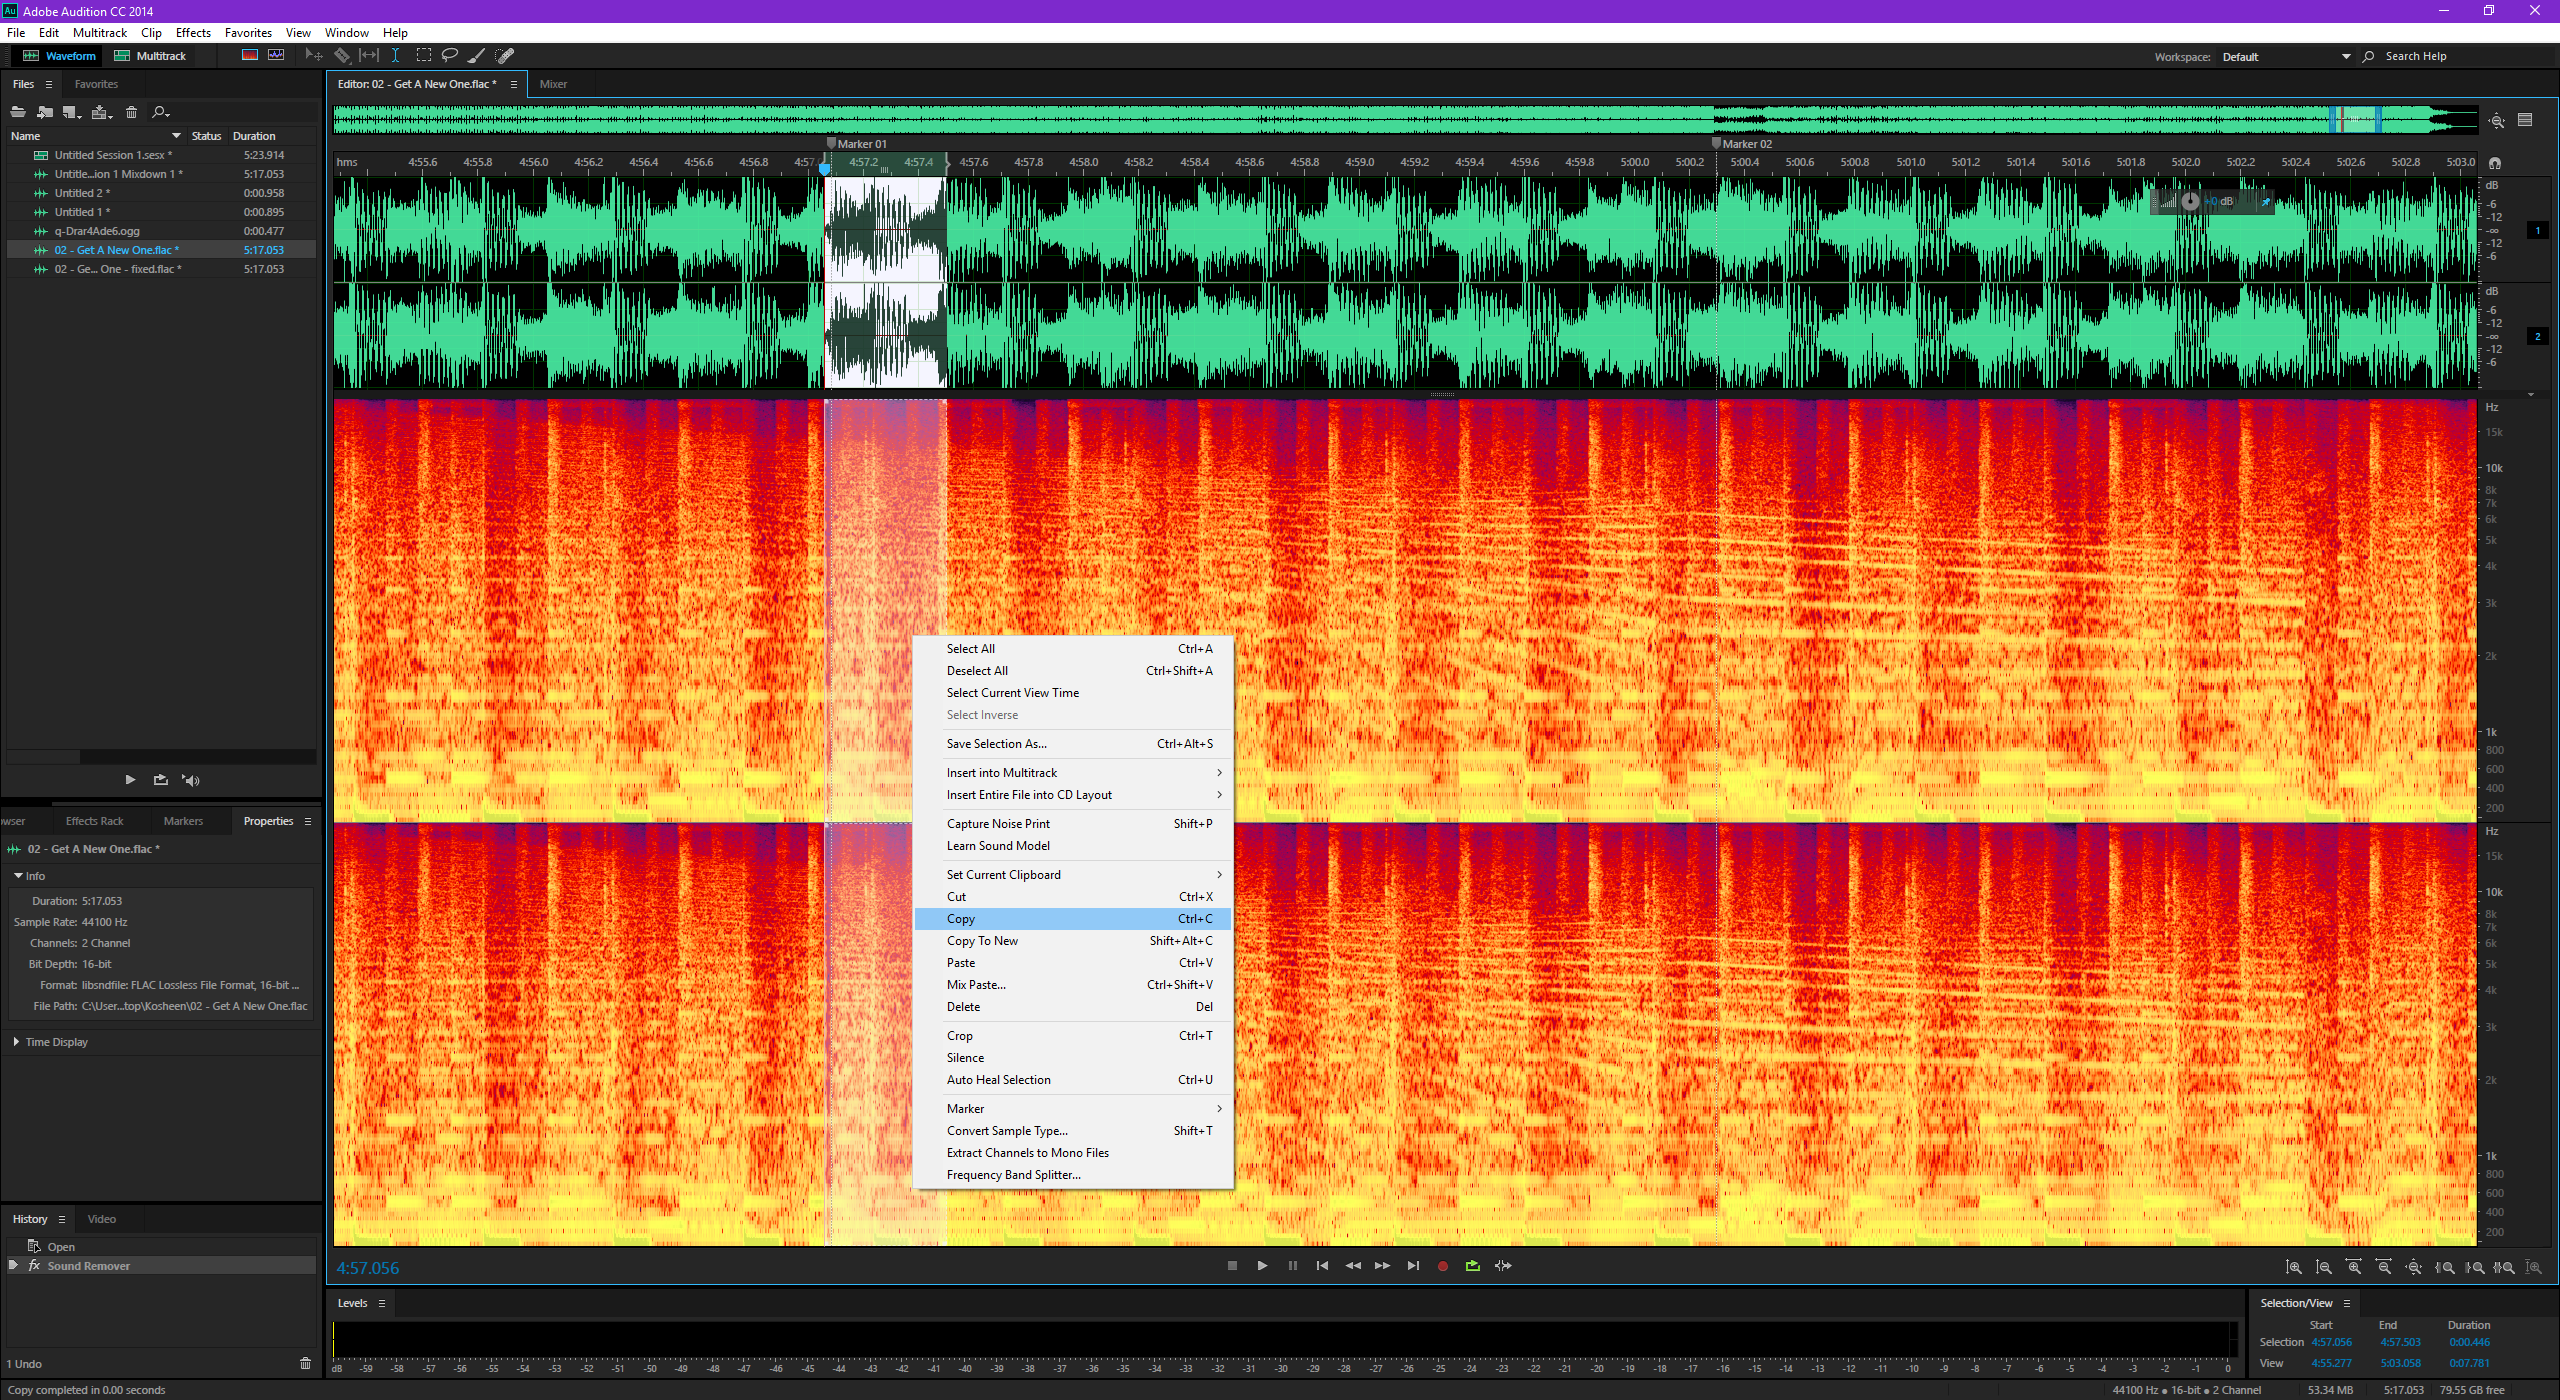
Start as described above, by learning the Sound Model of the sound to be removed, then create a selection around the area to analyse.
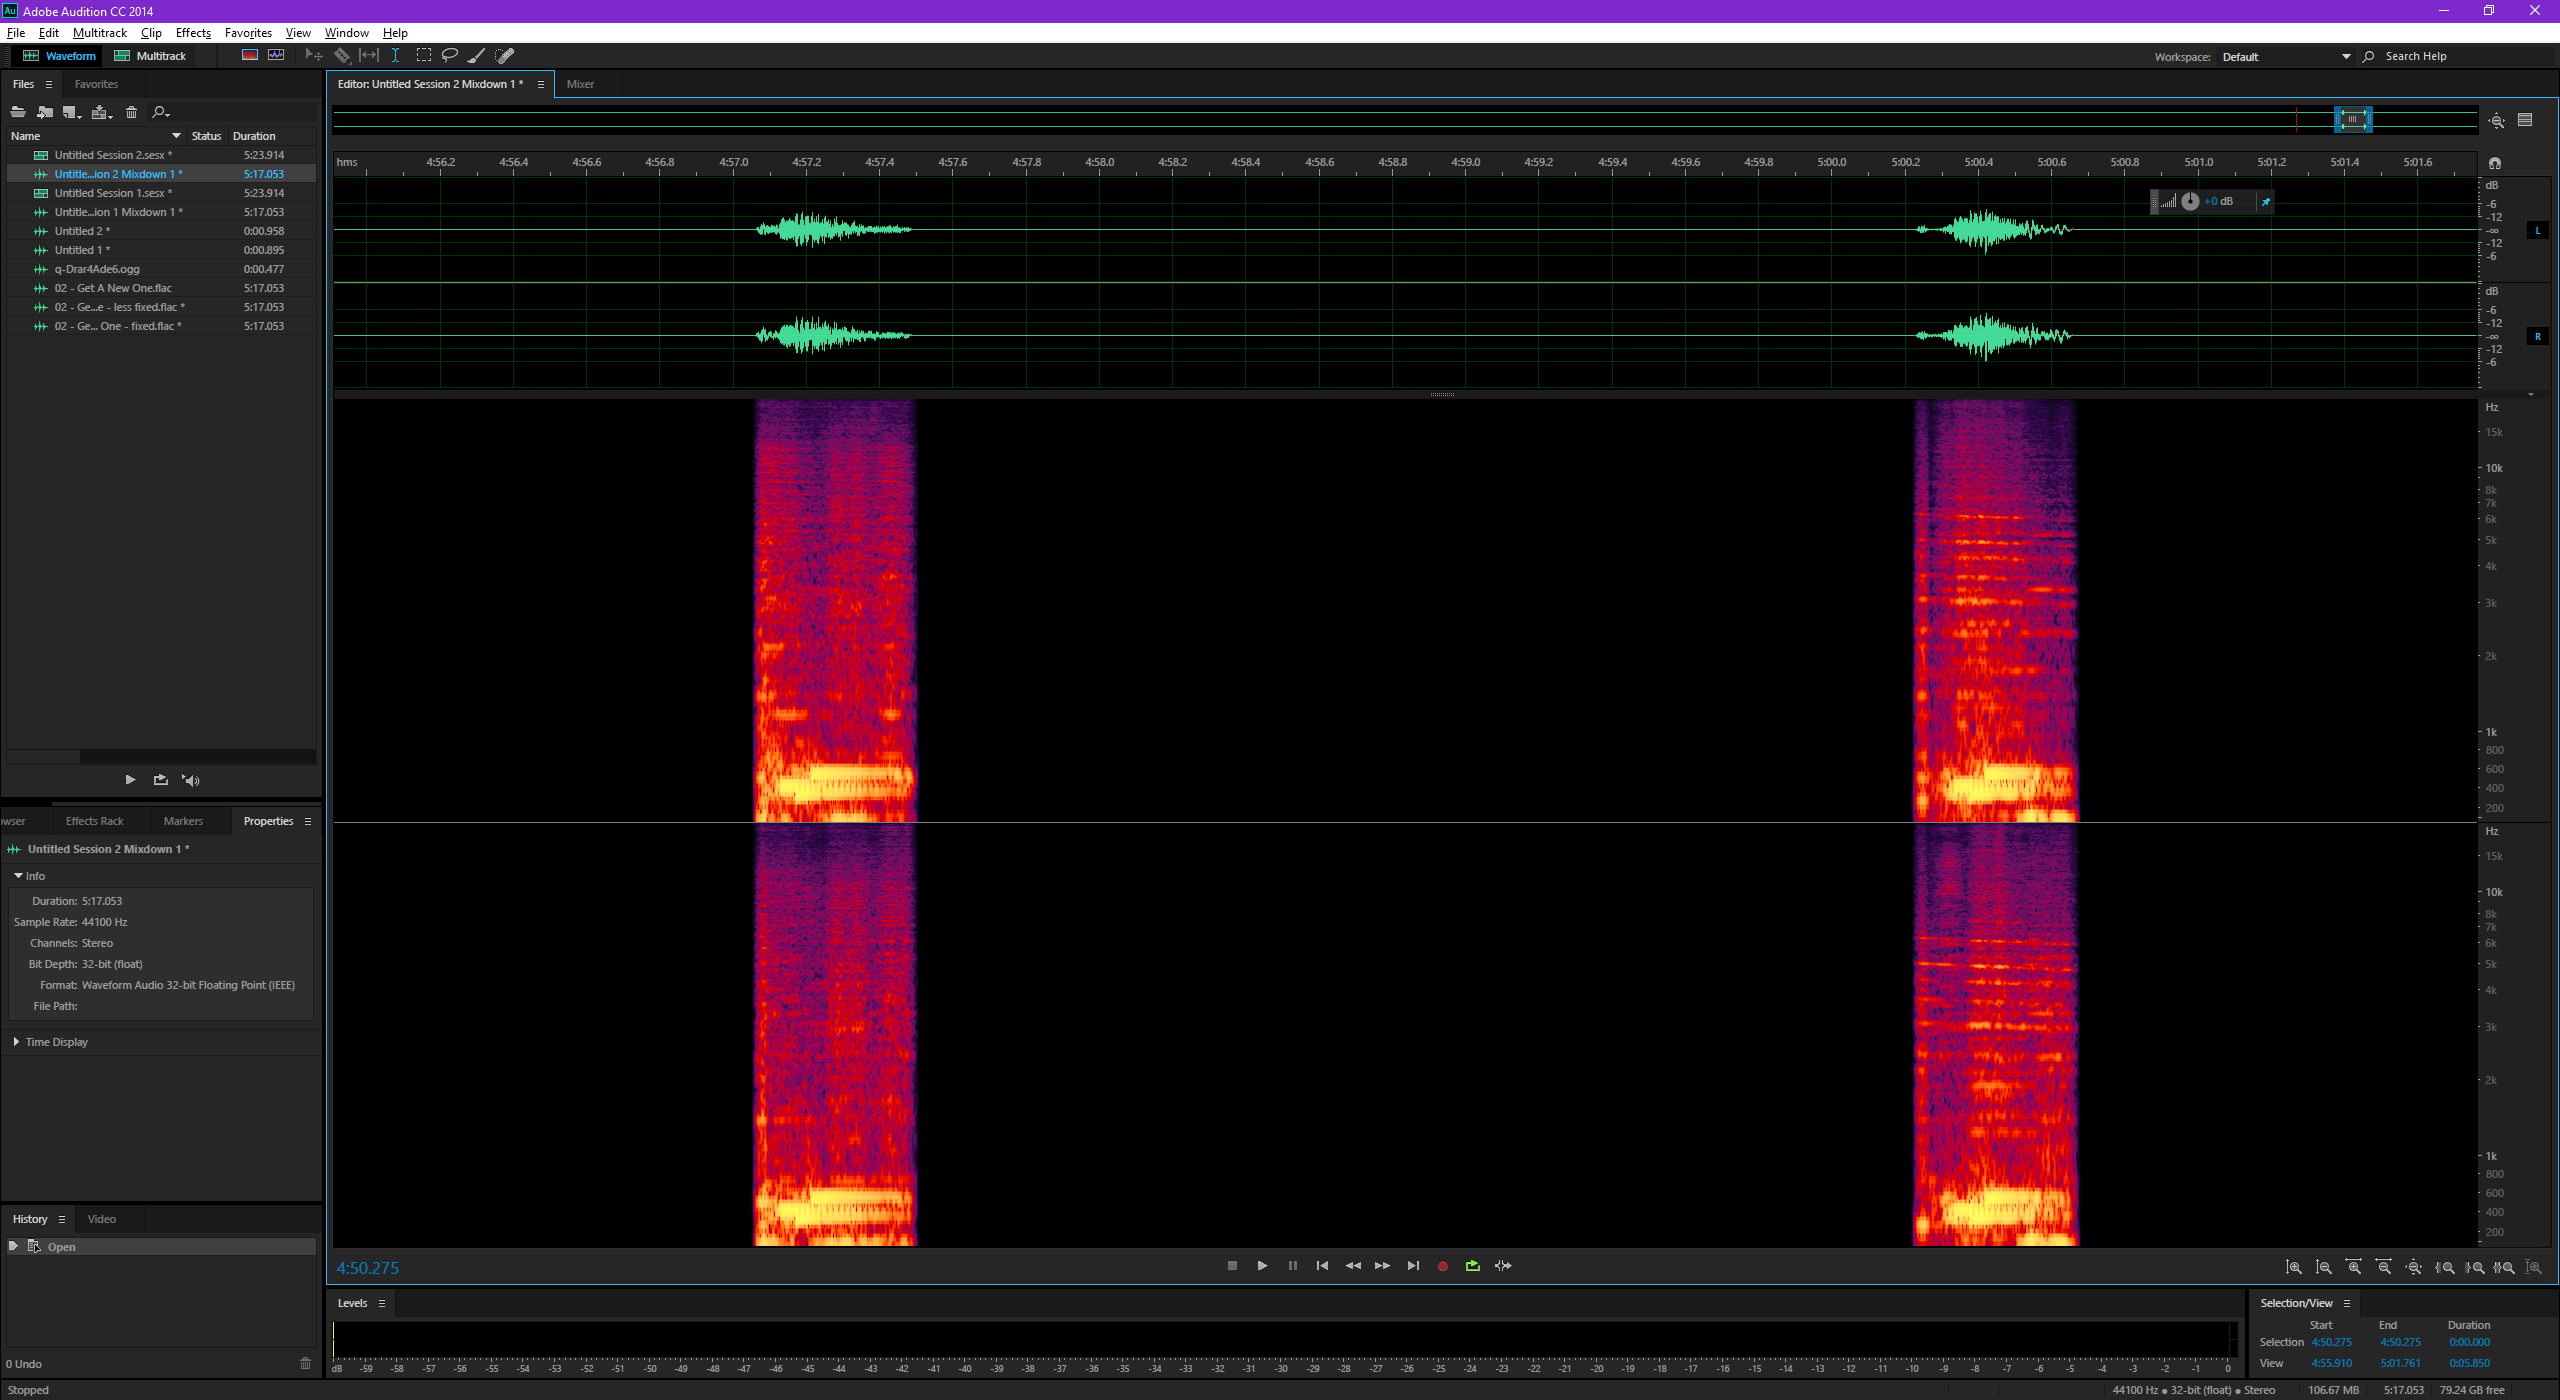
This time, instead of running the sound removal process directly, first copy and paste the selection in a new audio file:
Now, we are going to create a diff of the corrected selection with the one we saved before.
To do that, copy the corrected selection and use the "Mix Paste..." feature to paste it in the saved selection.
Use the "Overlap (Mix)" setting, and check "Invert Copied Audio" to create a diff.
We now have an intermediate diff that we can further edit before we integrate it back into the original song...
Editing the diff is relatively easy with Audition:

Then we copy the whole diff, and again use the "Mix Paste" feature to integrate it in the song.
The settings are the same as before: "Overlap (Mix)" and "Invert Copied Audio".
Result analysis
This improved method yields the following, much better looking diff:
We got back a lot of our original spectrum!
In particular, we got some bass back (below 200Hz), and everything above 1000Hz!
You can hear this new diff here:
Skip to around 4:57 and 5:00 to hear something:
Download the audible diff - improved version (FLAC)
Meta analysis
We can go even further, and compute the diff of both previous diffs! 🙂
This way, we can see exactly what we got back with the manual editing of the spectrum:
Note we can't discern the spectrum of the removed sound anymore in this diff.
Only the data wrongly removed by Audtion during the first process remain.
Oh, I almost forgot.
If you only came here to find a fixed version of Kosheen - Get A New One, without some facebook notification sounds in it, here you go:
The comment is shown highlighted below in context.
JavaScript is required to see the comments. Sorry...